Giddy Up!

Welcome to a post on the center console layout on our 2024 Atlas Boatworks 23F demo boat. This is the next installment in our ongoing series about the building of our demo boat. If you’ve missed any of the previous posts you can see them here

In this post, we are going to talk about one of the best parts of custom building boats which is getting to design the layout of the center console. You get to decide where everything goes. It’s the best! 

We will cover our center console design, the choice and layout of specific accessories, and we will touch briefly on the rigging of the wiring and electronics. Let’s get started. 

Center Console Design

The Atlas Boatworks 23F center console is a 2-piece design. Now, admittedly, that is partly because of how molding boat parts works. You can’t have any overhangs or the piece won’t come out of the mold. You’ll notice as you look at boat parts, consoles specifically, they get narrower towards the top (Technically called, “Draft angle”). That’s so they can come out of the mold after they have cured. 

In our case, we also want to provide easy access to all parts of the boat so that you, as the owner, can easily add or remove parts and perform maintenance if needed. Having a 2-piece console allows us to have both overhangs and easy access. 

You can learn more about the construction of our center consoles in our last post on small parts.

A console part is polished with a buffing wheel
The dashboard piece of the console gets buffed after coming out of its mold
A console part sits on a pallet
The larger console piece shortly after coming out of the mold

Layout

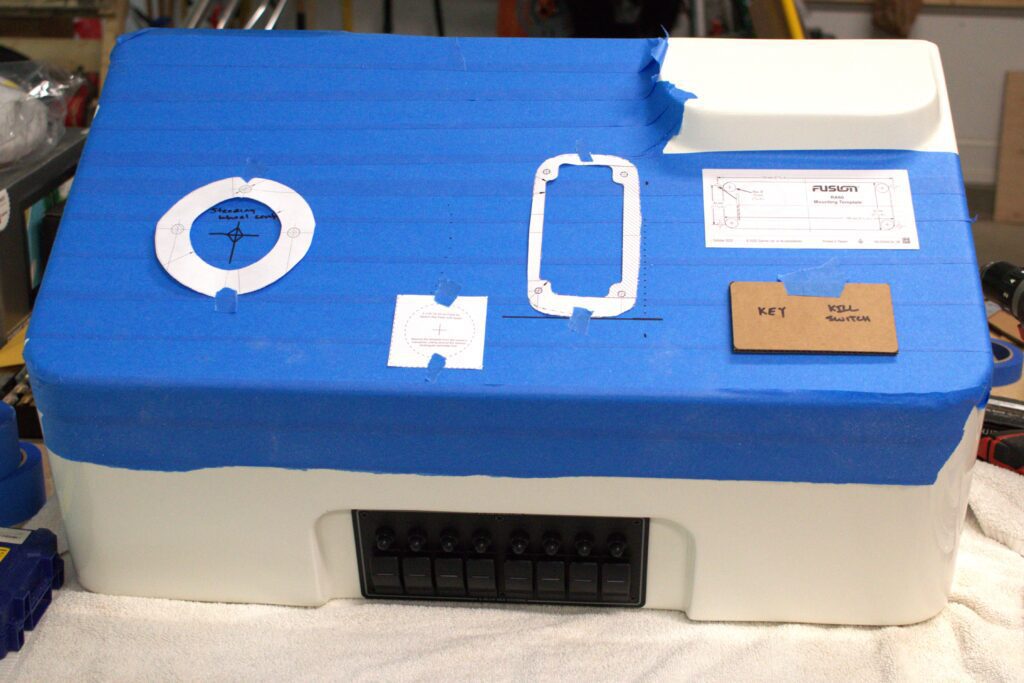
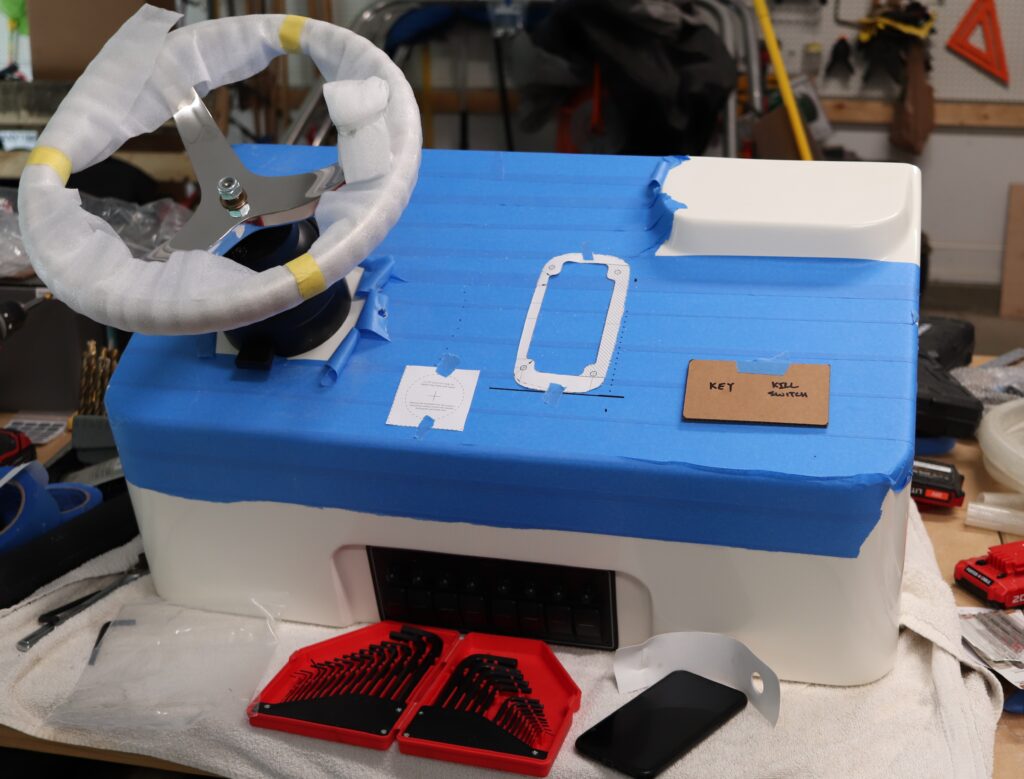
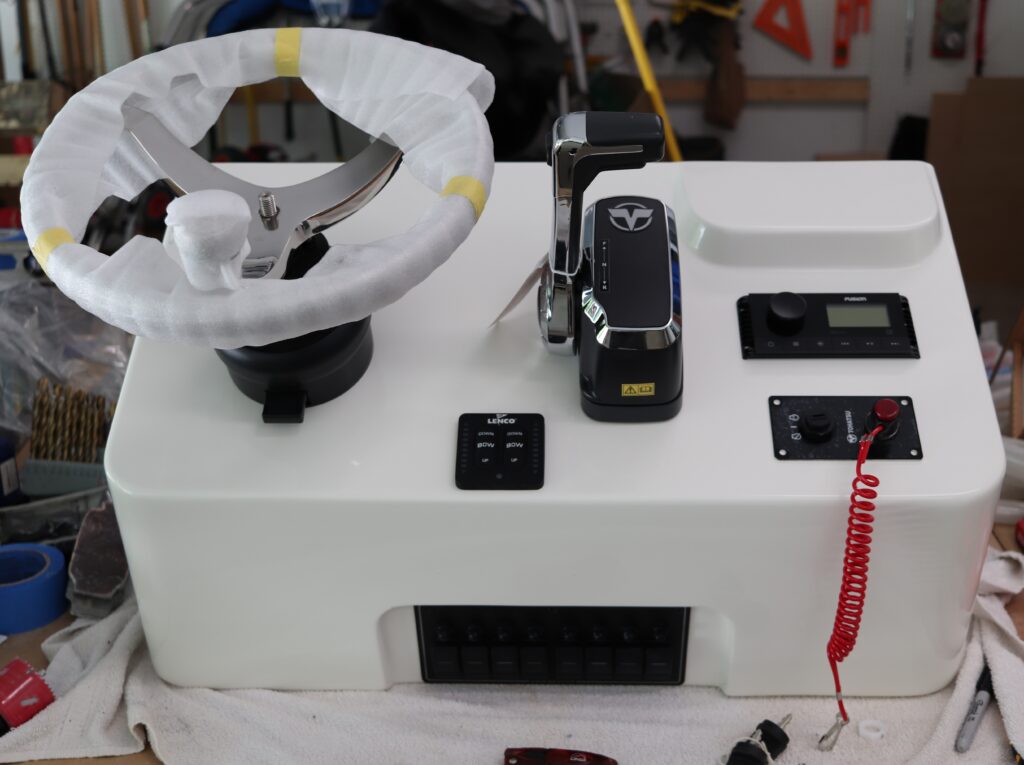
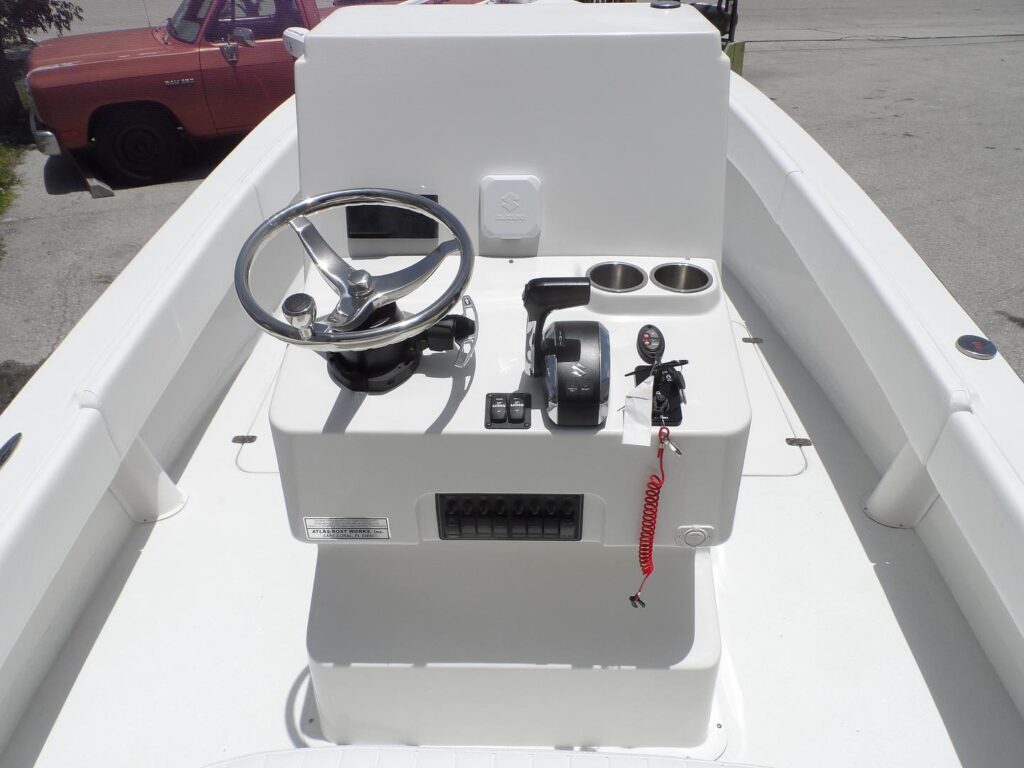
There are several factors we consider when starting the layout of the center console. We will dive into some of them here:

What needs to be mounted?

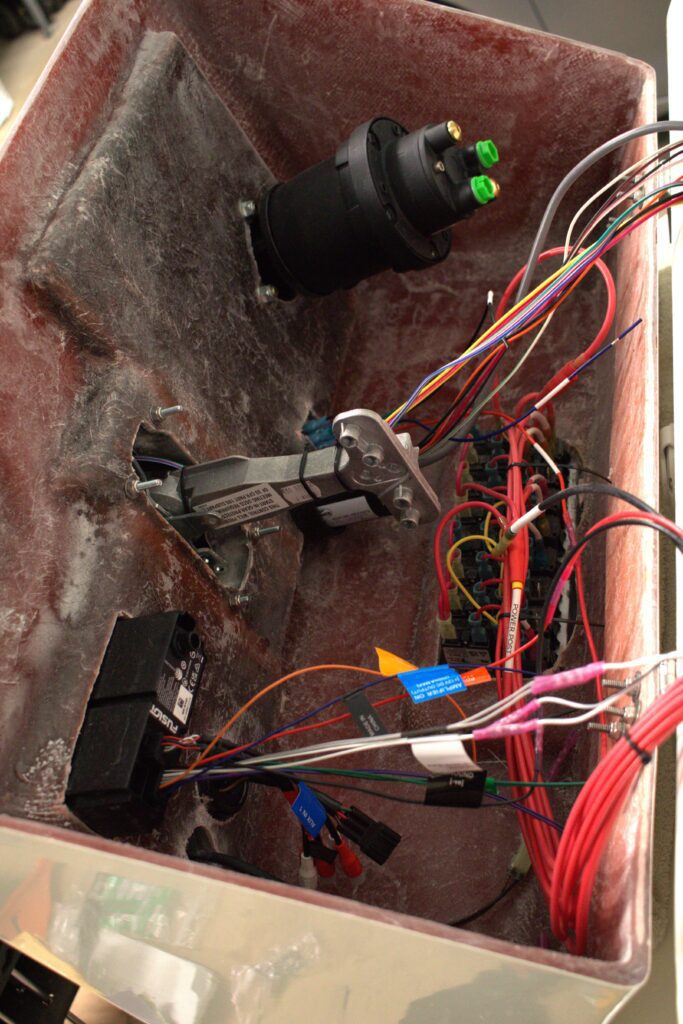
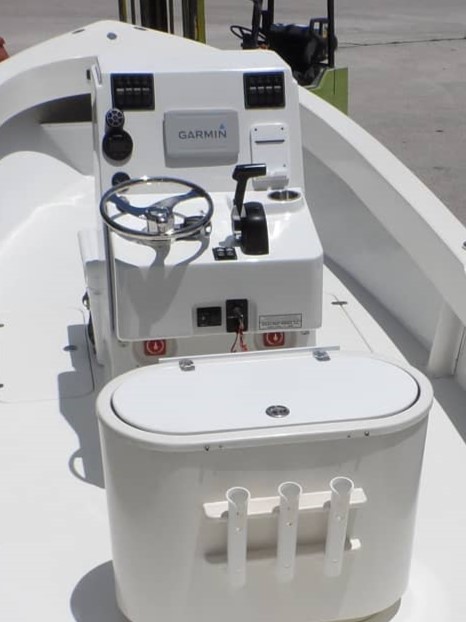
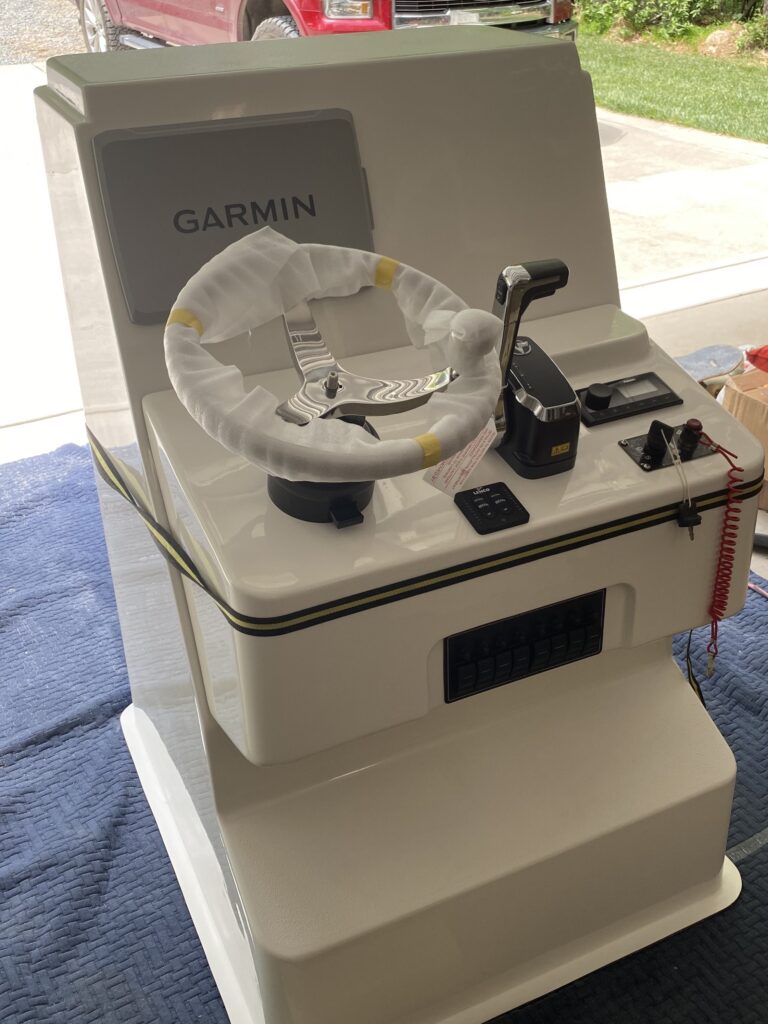
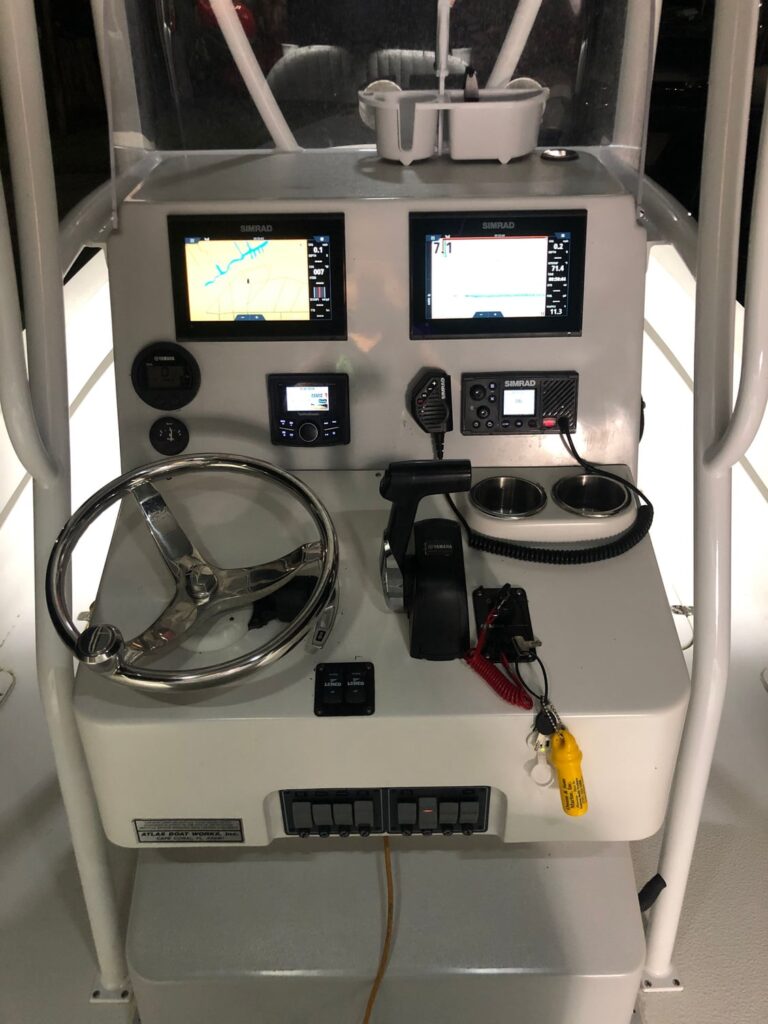
We will generally start with a list of all of the accessories that the owner has chosen. Despite the generally simple nature of the Atlas Boatworks 23F, the center console layouts can very wildly. One example is gauges. On our 2024 demo boat, we chose to run all of our gauges (engine and fuel) through our Garmin Chartplotter. We chose a larger screen for the Garmin as we knew some of the screen space would be dedicated to gauges. This makes for a very clean dashboard as there are no actual gauges that need to be mounted (There is still wiring to be done on the backside). If you decided not to do that, then we would need to consider gauge placement in the overall layout. 

It is a bit of a gamble on our part as to whether or not we will really like using the Garmin as our gauges, chartplotter, and fishfinder. It may be too much. We will report back on plusses and minuses in a later post. 

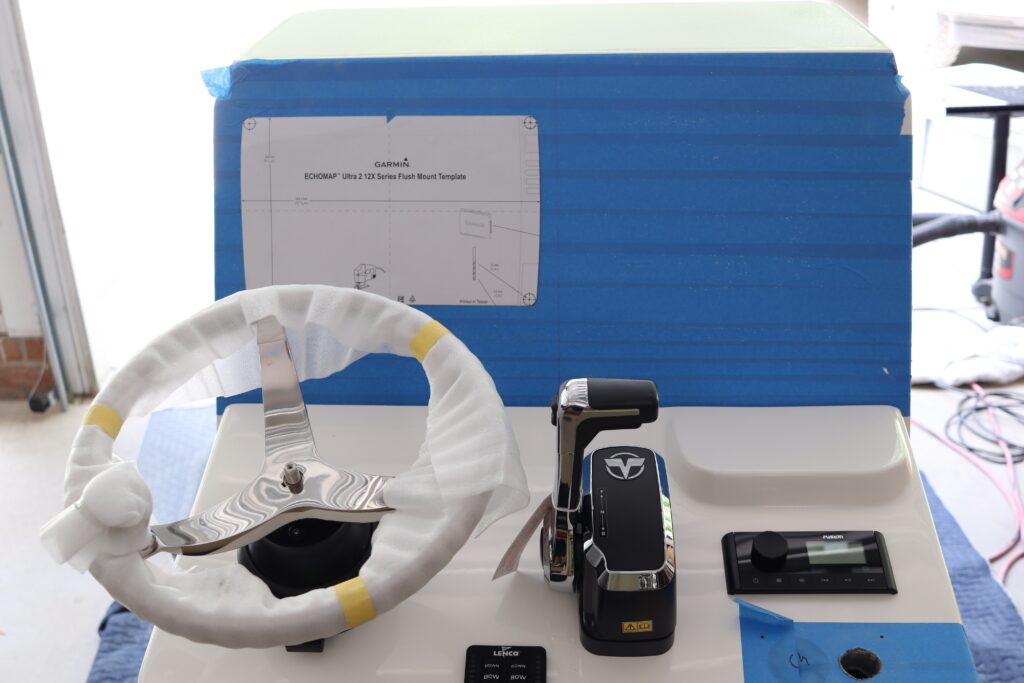
Can you reach and see everything?

The next thing we look at is whether everything that needs to be reached can be reached. And is it comfortable? There are little tweaks that can be made to ensure that you have a good driving experience. Examples are using a tilt steering hub or moving the throttle binnacle closer or further away. 

One other thing we do is ensure that you can see everything you need to. It doesn’t do any good to have a 12-inch screen if you can’t see half of it because of the steering wheel.

Multi-tasking?  

Finally, are there things that need to be operated simultaneously (For example, throttle and steering, or Porta Bracket and trim tabs)? Think about how you will use the boat. In a situation where you are trying to get up on a plane in skinny water, will you need to run the throttle and Porta Bracket at the same time? If so, can you do it with the layout you have chosen? 

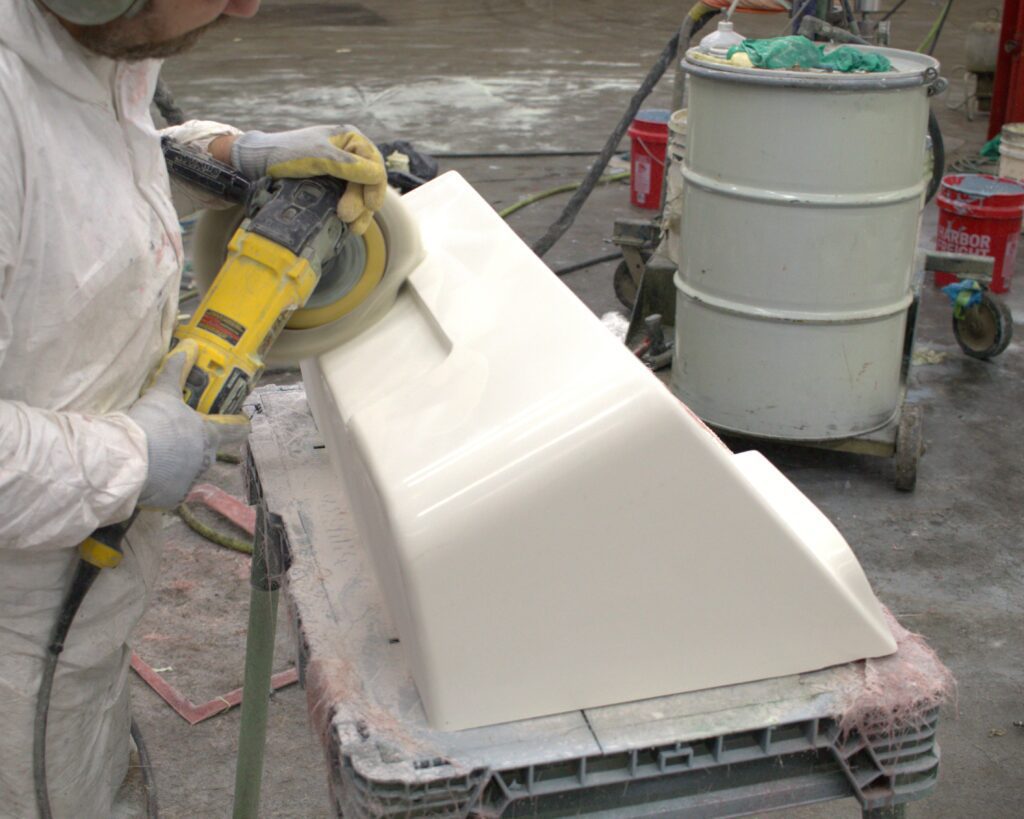
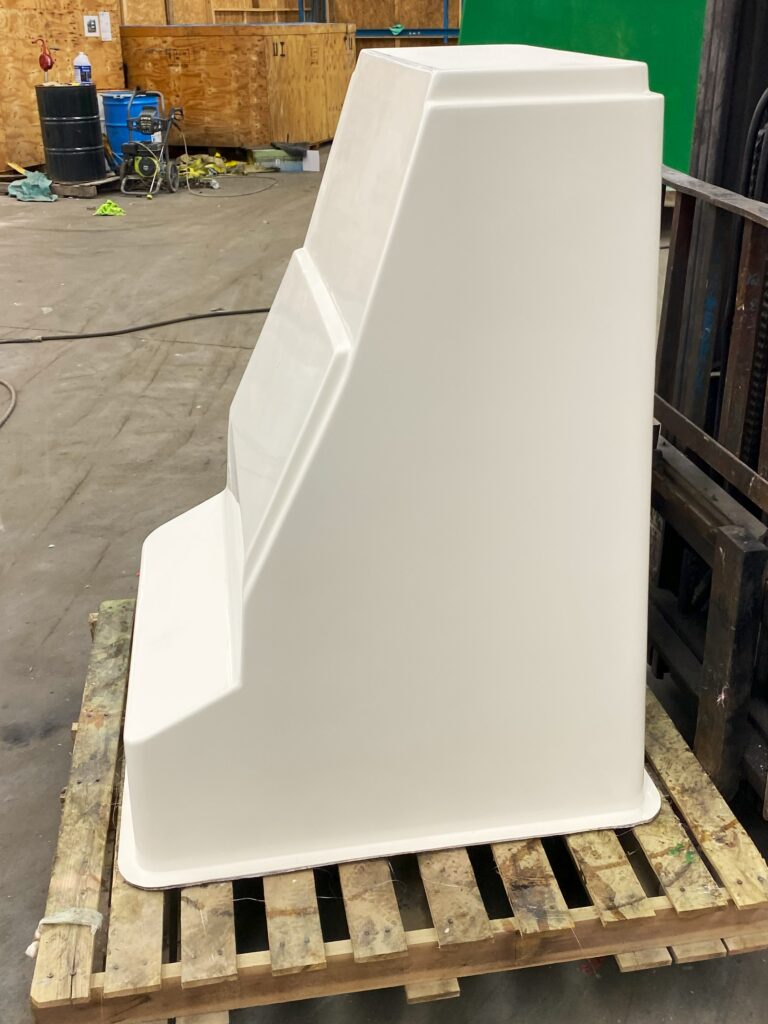
Dry-fits, test-fits, and a lot of pretend driving goes into making sure we feel good about where everything is located. 

Dashboard of a center console boat is set for rigging with blue tape
A partially rigged center console with blue tape on the dashboard
Dashboard of a center console boat is set for rigging with blue tape
A part of a console is rigged with a steering wheel in protective foam.

Rigging

Once we’ve decided where everything will go and mounted it to the dash we need to make all of the connections. This is where having the 2-part center console really comes in handy. All of the wiring runs to the electrical panel on the inside of the console. Engine, steering, and trim tab controls run to the rigging tube and back to the stern of the boat. 

Center console is open to show rigging and wiring inside
Our center console hinges open exposing the connections for the switch panel, throttle, steering, and engine controls. It makes access to these items incredibly easy.
The backside of a switch panel is shown with labeled wires connected
wiring inside a center console is shown
Making electrical connections in a partially rigged console

Examples

Every custom console is a little different. Here are some examples:

A center console layout example on the Atlas Boatworks 23F center console fishing boat.
A center console for a boat

Next Time

Join us next time as we give you a glimpse at our boat atlas (An atlas for your Atlas). This is a full binder with all the information about your custom build. Not a generic Owner’s Manual, but a book that we build alongside your boat, so that it is totally custom to you. 

Word art of the definition of "Atlas" which is a bound collection of maps often including illustrations, informative tables, or textual matter.
A coils of wires on a binder with a wire crimping tool

Comments are closed.