In this post, we are continuing the discussion on the building of the deck and hatches on the Atlas Boatworks 23F bay boat. If you missed the last post where we started the conversation, you can find it here.
Deck Fitting
Since there was no existing mold for the deck, we had to do a lot of measuring of the hull to try to get the mold at the right dimensions. The biggest challenge was knowing exactly where the deck would intersect with the hull sides. At the back of the boat, the hull is almost vertical which made the measurements easy. Towards the bow, however, the hull flares out considerably, which made getting exact measurements a challenge.
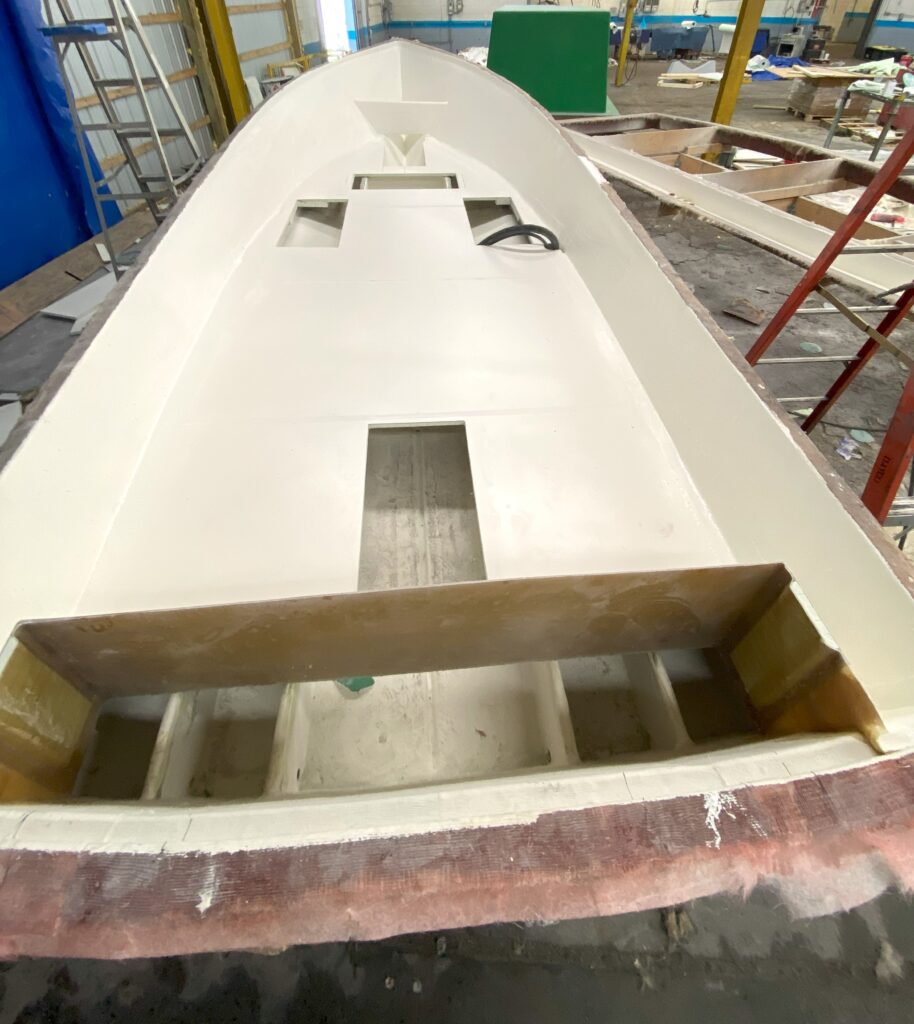
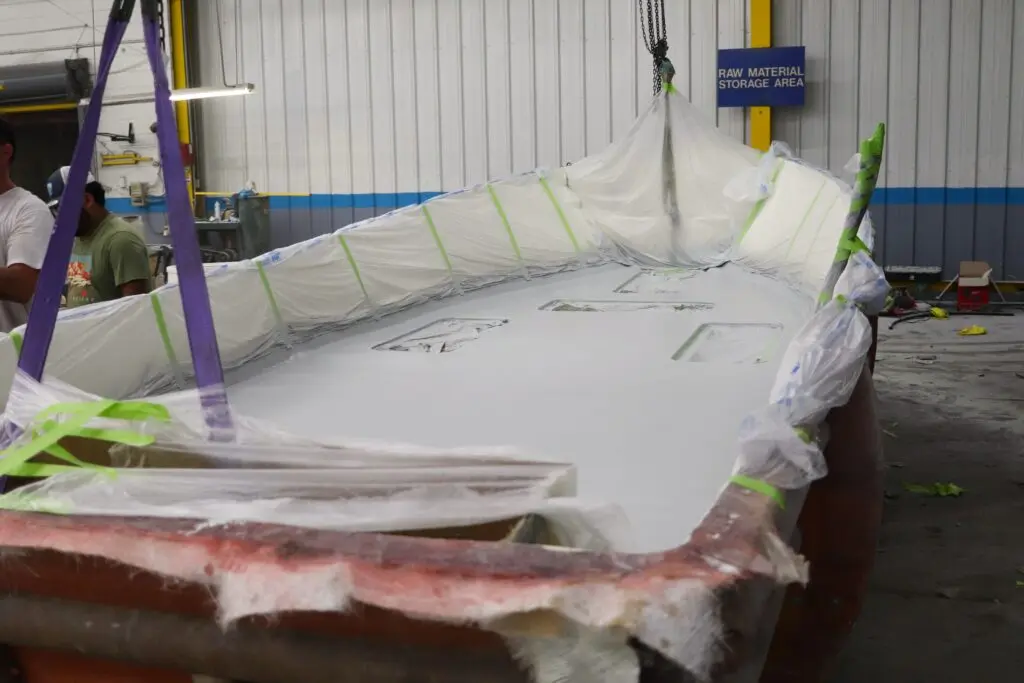
The deck is dry fit into the hull. It required a little trimming around the rear bulkhead to allow it to drop into place.
Once the deck was built (see the last post), we drilled some holes in it (where hatches are going to go) and hung it from the forklift. The biggest challenge we could have had was if we made the mold too large. It is easier to add material to a small deck than to remove it from a too large one. Luckily, the deck fit great in the rear 2/3’s of the boat and was a little too small up towards the bow. We did have to do a little trimming around the scupper wells in the back, but within 15 minutes or so, it was resting on the stringers where it was supposed to.
Deck Mounting
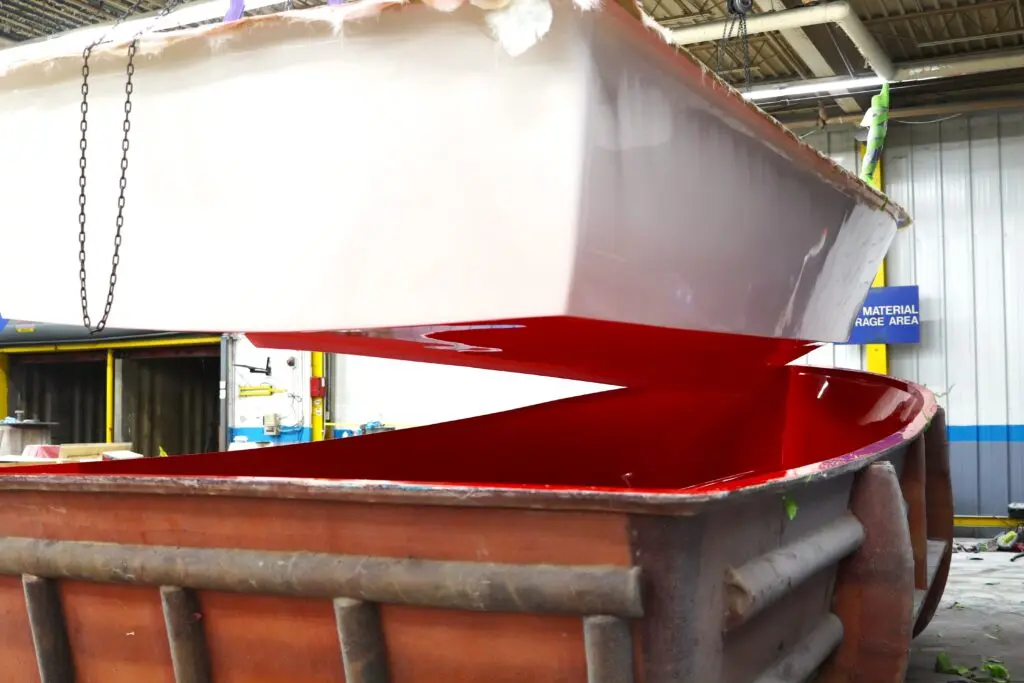
Once we had the deck all trimmed and ready to permanently mount, we laid a heavy line of putty on the tops of the stringers all over the boat (See the video below). Putty is essentially resin with a thickening agent in it. It is great for bonding things together and filling spaces. It is relatively heavy when compared to foam or fiberglass so it is generally used sparingly. In this case, it is perfect for bonding the deck to the stringers and filling any gaps in between the two.
Prior to installing the deck, we leveled the boat front-to-back and side-to-side. Once the deck was squished down into the putty, we made sure that the deck was also level in all directions. Then a strip of fiberglass was laid down to connect the deck to the hull sides.
Now we have a deck, stringer system, and hull that are all bonded together and act as one piece.
Hatches
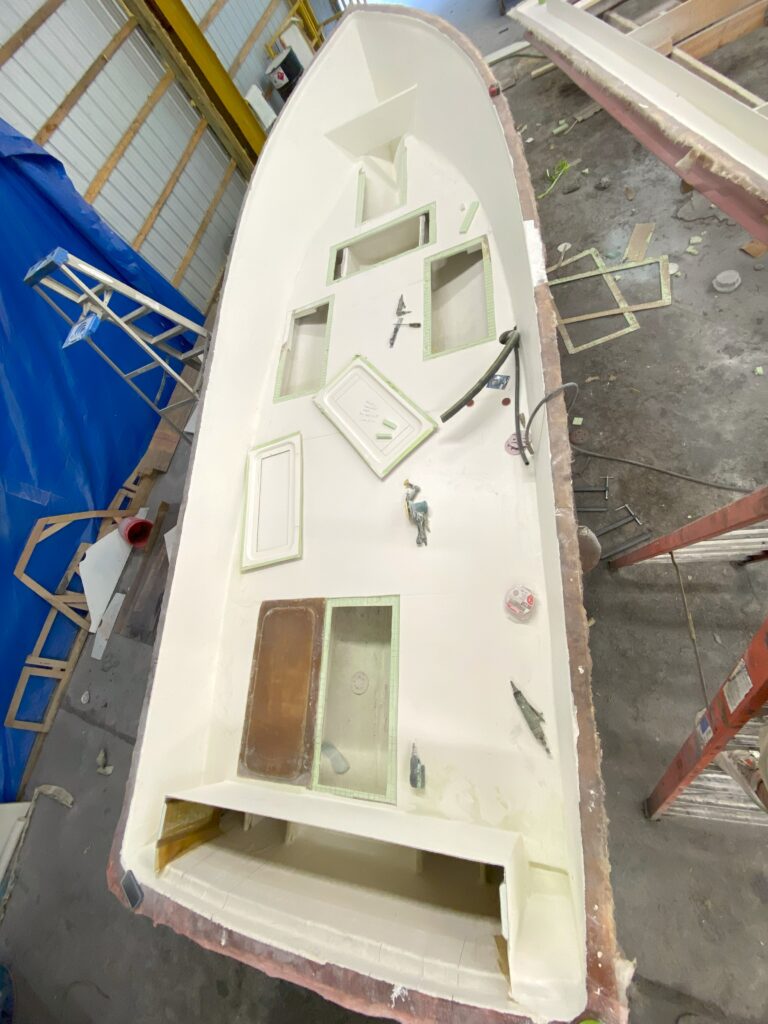
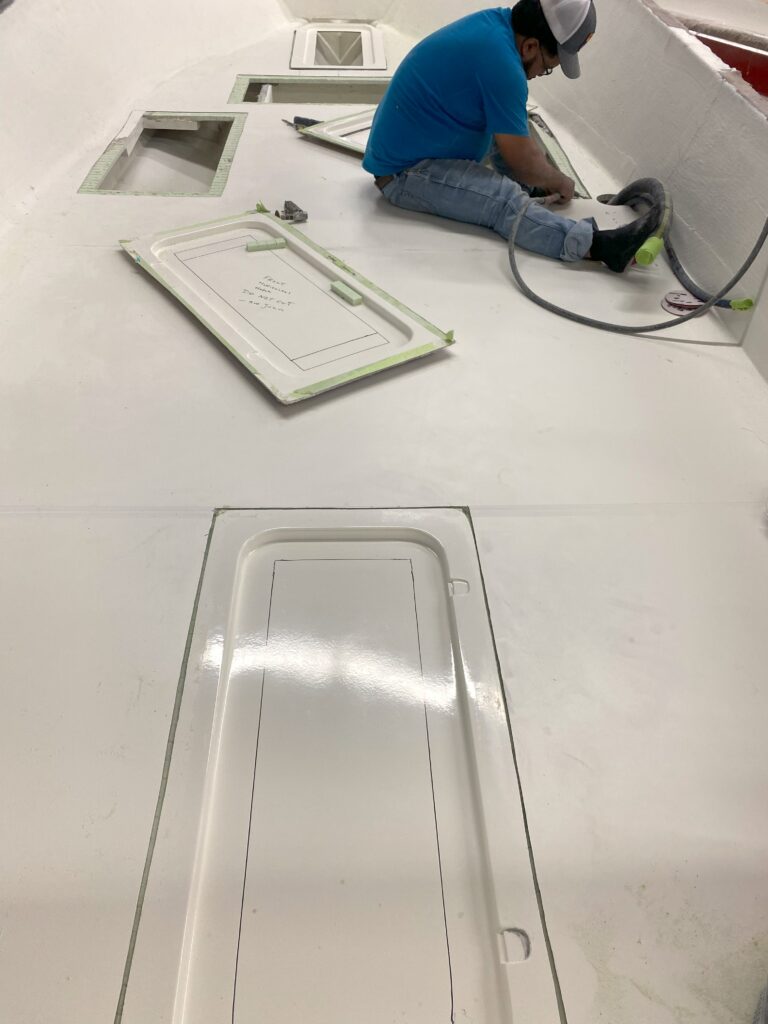
The Atlas Boatworks 23F comes standard with 3 hatches. We offer another 2 hatch locations as options as well. Given that this is our demo boat, we opted for all 5 hatches. Since we built the full deck, it meant that we had to cut out all 5 hatch locations, drop in the hatch rings (built separately), and then fair them into the deck to make everything smooth. This was a long, very intricate and time-consuming process.
We are in the process of building the hatch rings into the deck mold so that, in the future, the 3 standard hatches will be a part of the deck build. This will reduce the time spent on this step considerably.
The deck in place with the hatch holes cut
Non-skid
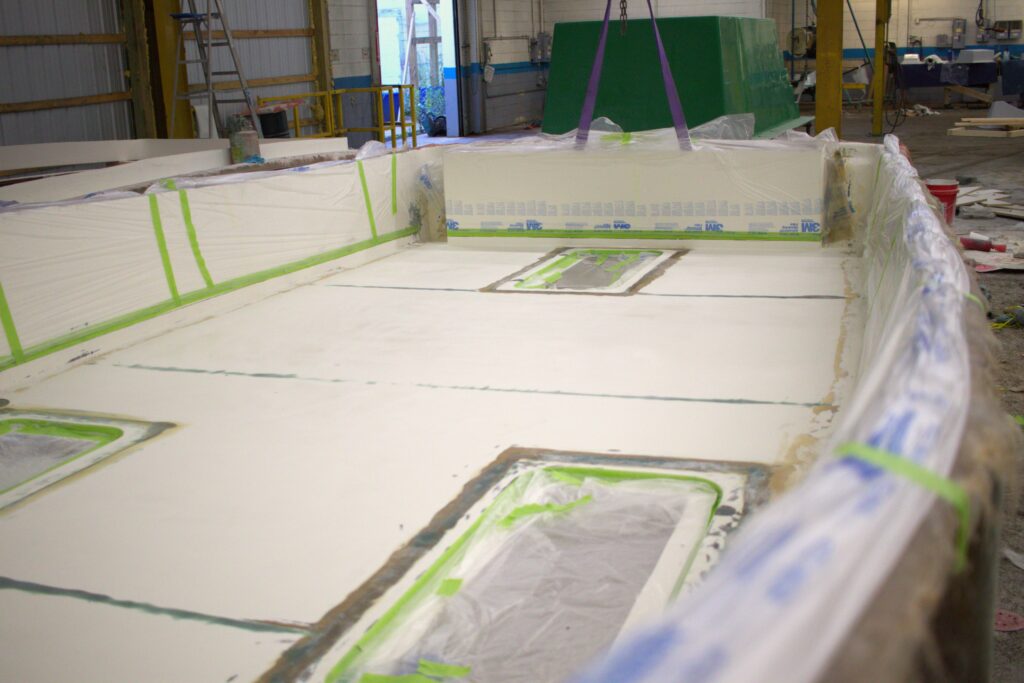
The last step we took with the deck was to spray non-skid on the deck. We use a combination of coarse and fine granules to make a finish that is slip-free, but also barefoot friendly. We also took the non-skid up the side of the hull about 2 inches to provide further protection for the deck.
The deck is all sanded and prepped for non-skid
Just completed spraying the non-skid
Next Time
In our next post, we will be covering the pulling of the boat out of the mold. It has taken a lot of posts to get here, but this is the big shebang! We’ll finally get to see the boat out of the mold.