And...we're off!

Picking up where we left off last time, we are going to delve into the world of small parts. The Atlas Boatworks 23F is a pretty simple boat by design. We’ve worked hard to make sure that you don’t have a ton of parts so the boat is easy to use and maintain. We dive deep into some of those design decisions here on our Design Philosophy page. By focusing on a simple design, it means we have way fewer small parts than a lot of boatbuilders. 

For the most part, our small parts are built the same as our hull. Starting with gelcoat, then a skin coat, and then bulking the rest out with either chop or woven fiberglass and coring as needed (depending on the parts and their intended uses). 

In this post, we will go in-depth on the center console but the livewell and hatch lids are built using the same principles and methods. 

The Center Console

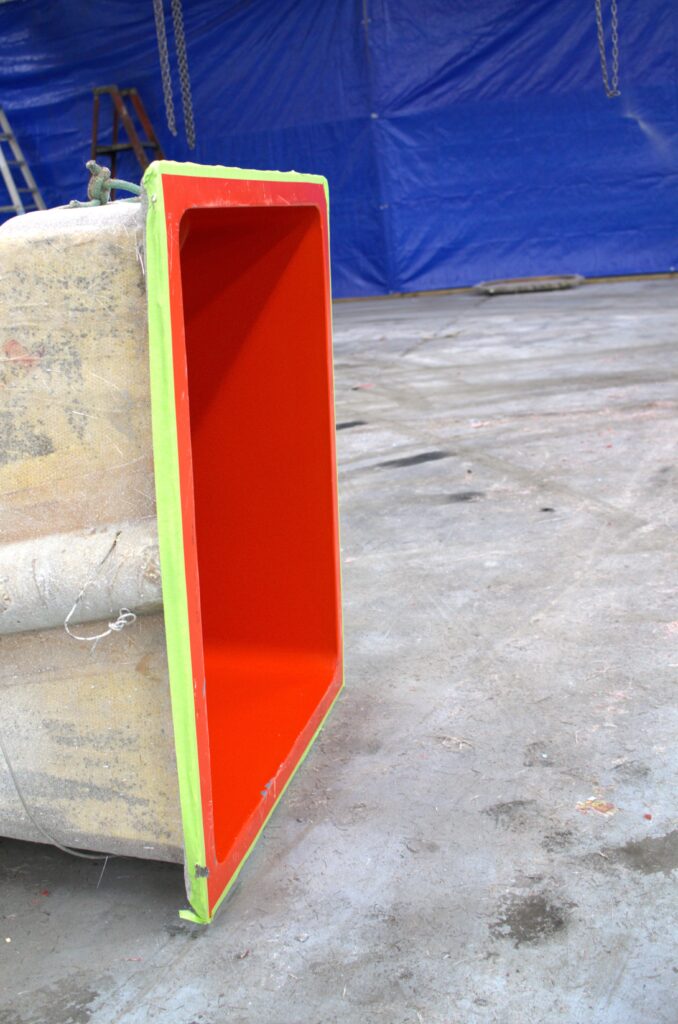
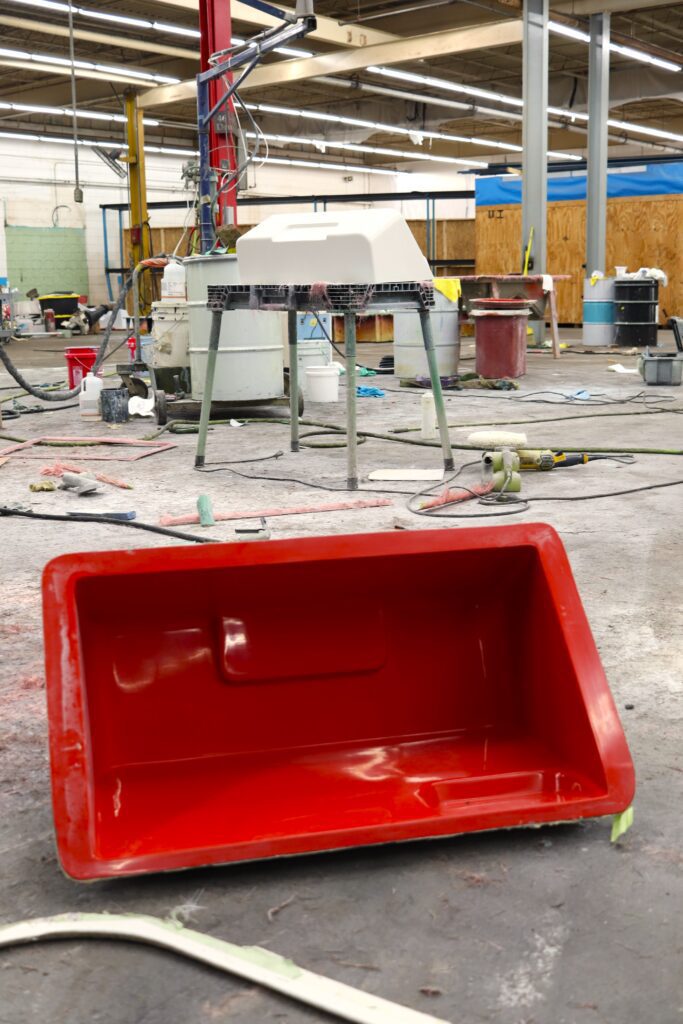
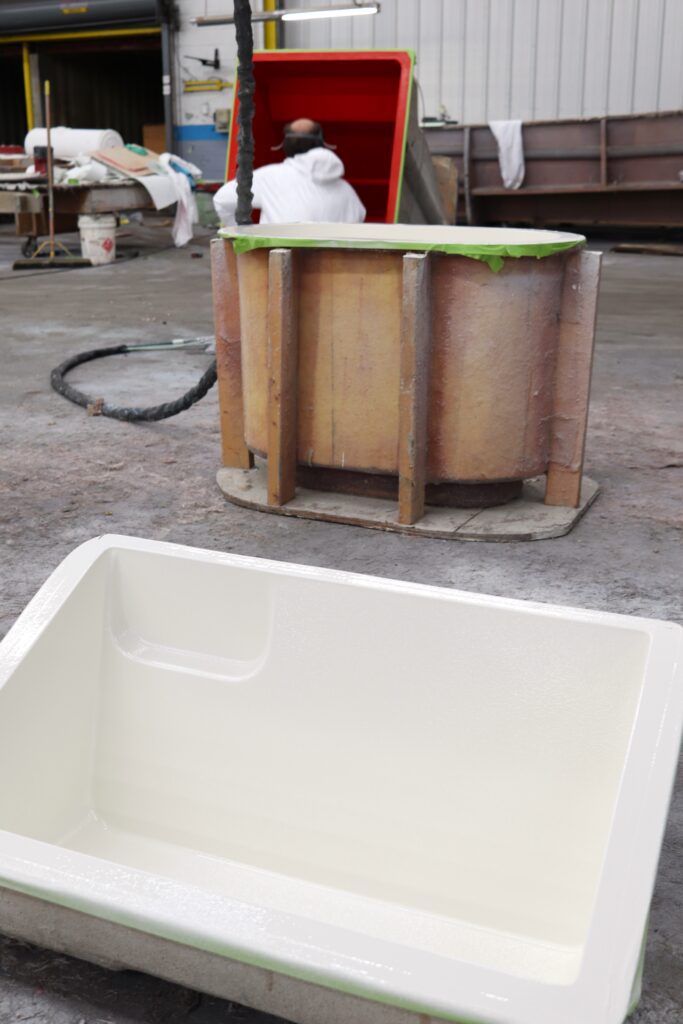
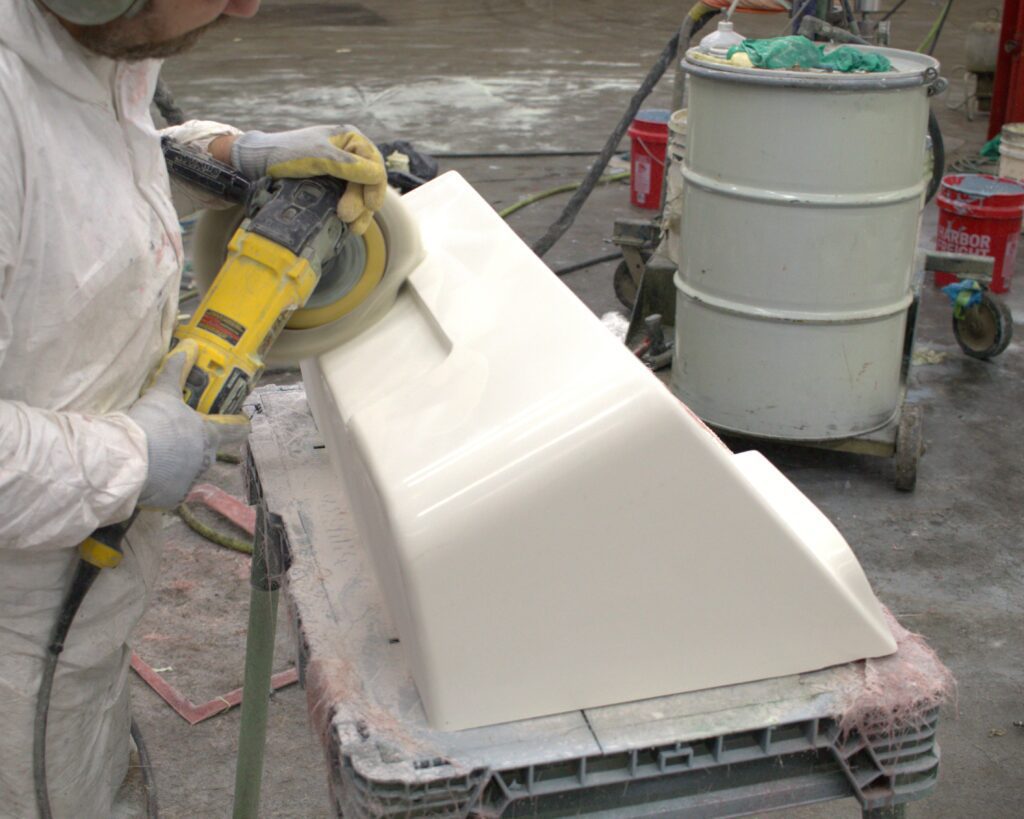
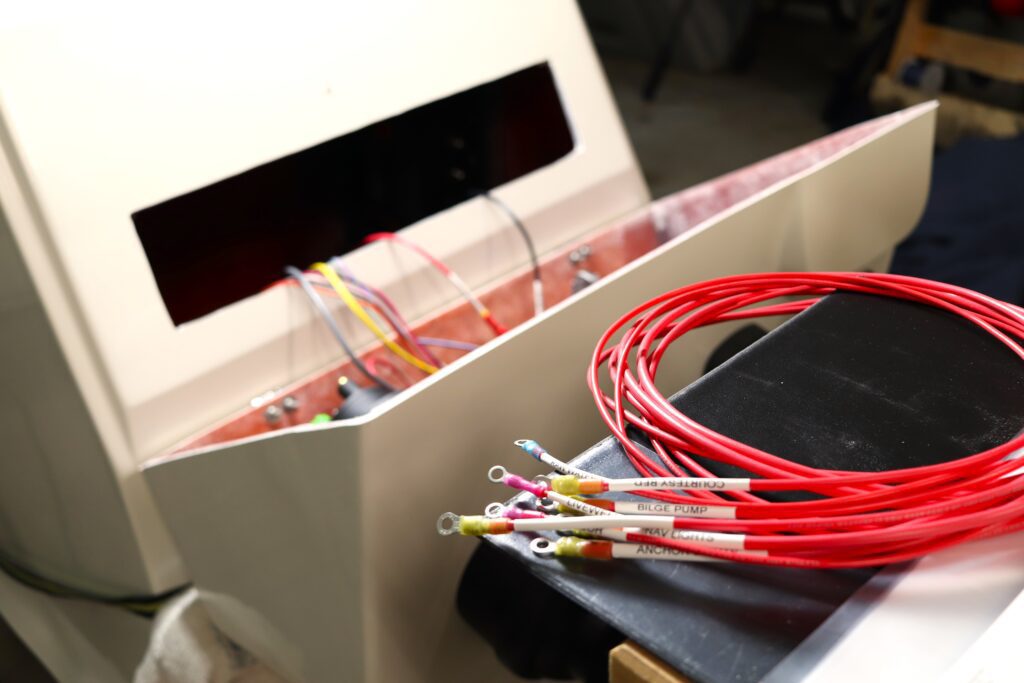
The Atlas Boatworks 23F is a center console fishing boat, so naturally, the center console is a key part of the boat. Our center console is a 2-part build. The first part is the larger piece, which makes up the majority of the center console. The second part is a small piece where the wheel, switch panel, and other controls are mounted.

By having 2 pieces, it allows the parts to open up and provides access to the back side of all of those controls, which makes adding items or performing maintenance super-easy. 

Building Center Consoles is Not That Fun

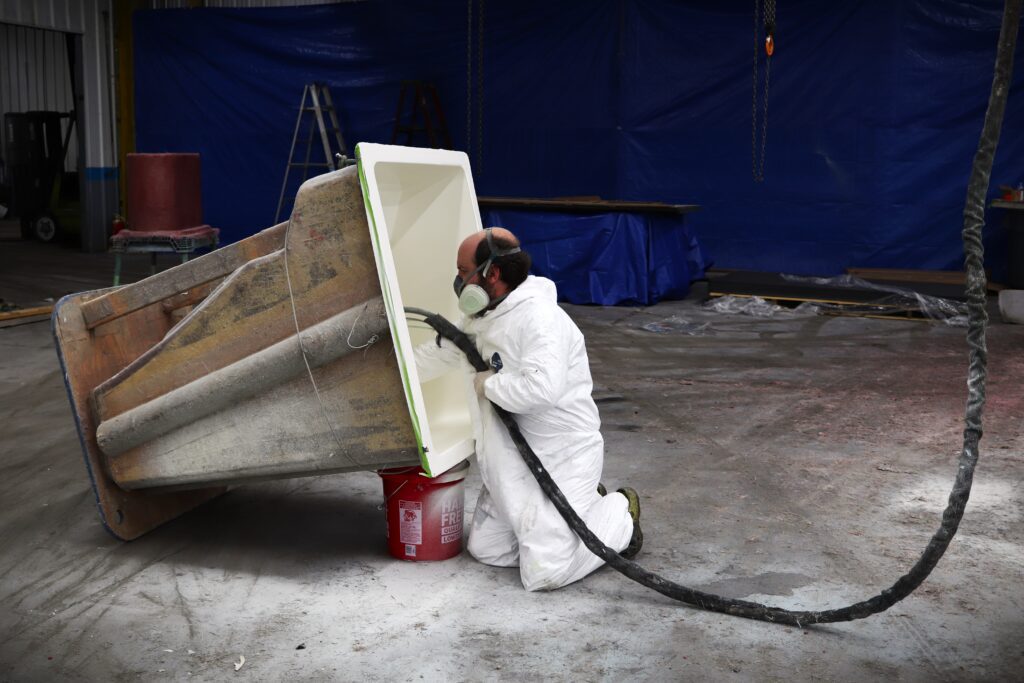
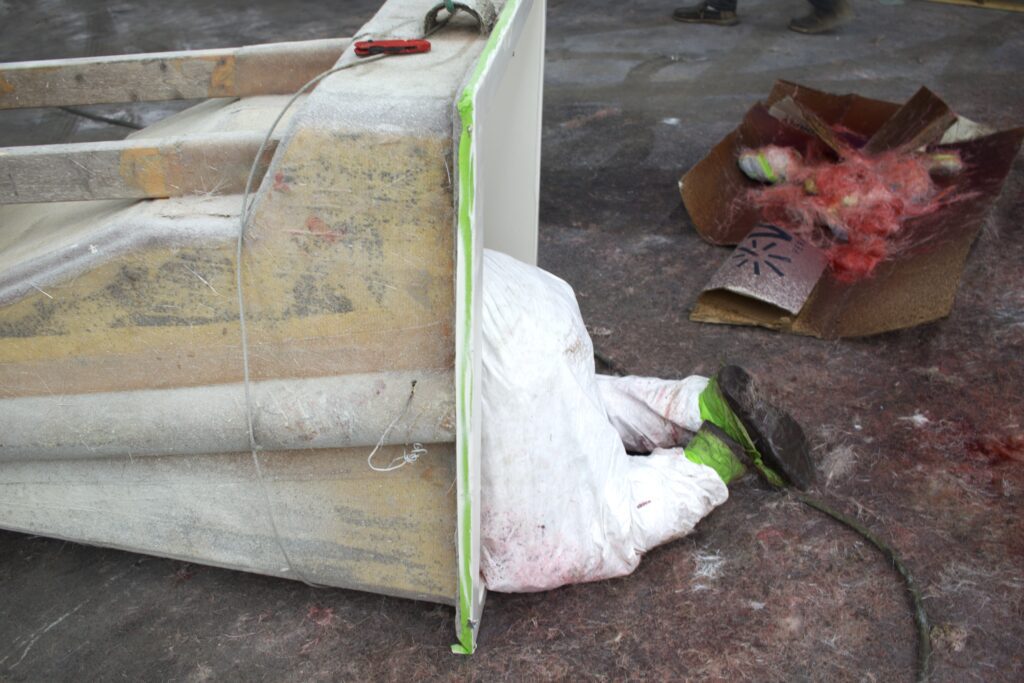
If you’ve ever sprayed a hose into something and had the water just come spraying back out at you, then you know what it is like to gelcoat a console. Now imagine that instead of water, it is a sticky, paint-like substance. 

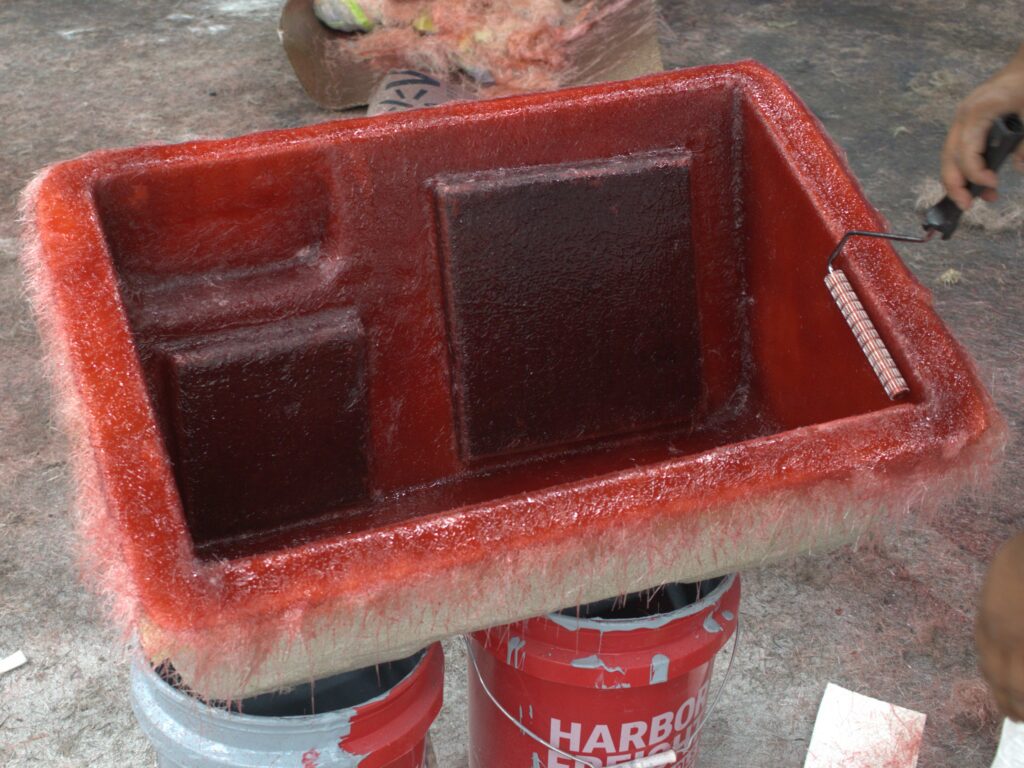
Another thing to consider is that consoles generally have lots of tight corners and different use cases for different surfaces on the same piece. For example, the dashboard is going to have various switches, the throttle, and the steering wheel mounted on it. The footrest is going to need to support the weight of the driver or guests. The inside is going to have all the wiring, battery switches, fuse boxes, and more mounted in it. 

To support the various needs of the center console, we will embed Coosa, foam core, or polyester core in the fiberglass depending on the use case. 

Despite being a “small part, ” a lot of thought goes into a good console. Sounds like a hoot, huh? 

A worker on his knees sprays gelcoat into a center console mold
A worker is shown crawling into a console.
A console part mold
Coosa is embedded in the console dash in places where the steering wheel, throttle, and switches will mount. Coosa adds strength, thickness, and improved screw retention.
A livewell mold sits on its side waiting for gelcoat
The console mold waits for gelcoat
A console part mold sits on the floor with the finished part on a table in the background
The console dash mold sits on the floor in front of the finished piece on the table
small boat parts are lined up while gelcoat is sprayed in each
By preparing all of the small parts molds at the same time, we can go from one piece to the next very efficiently

Once everything has cured, the parts are pulled out of the molds. They then get a quality control check and buffed and polished to a shine. 

A console part is polished with a buffing wheel
The small piece of the console gets buffed after coming out of the mold

Next Time

Join us next time as we jump into the rigging of the console. We’ll get into the placement of accessories, switches, and wiring components. 

A coil of wires sits in front of a partially rigged center console

Comments are closed.