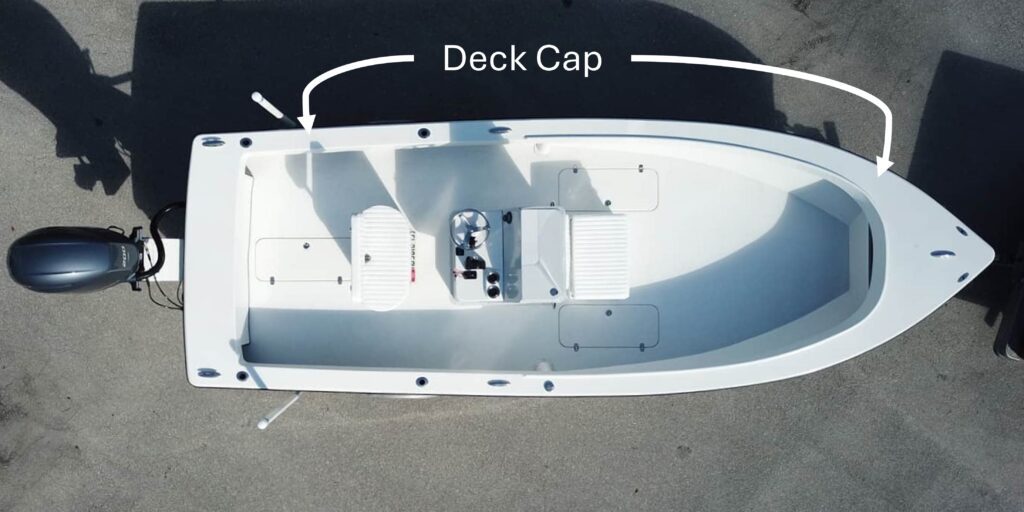
Welcome back! We are walking, step-by-step, through the building of our 2024 Atlas Boatworks 23F demo boat. Last week we talked about the skin coat. If you missed that, throw it in reverse and go back here and read that. This week we are going to dive into the deck cap. This is the top deck of the boat. If you picture stepping off a dock onto the boat, this is what you would step on before you step down into the boat. In addition to being a convenient place to step, it supports cleats, rod holders, trolling motors, and more. It is also a vital part of the boat’s structural strength by providing lateral stability to the top of the hull.
Building the cap
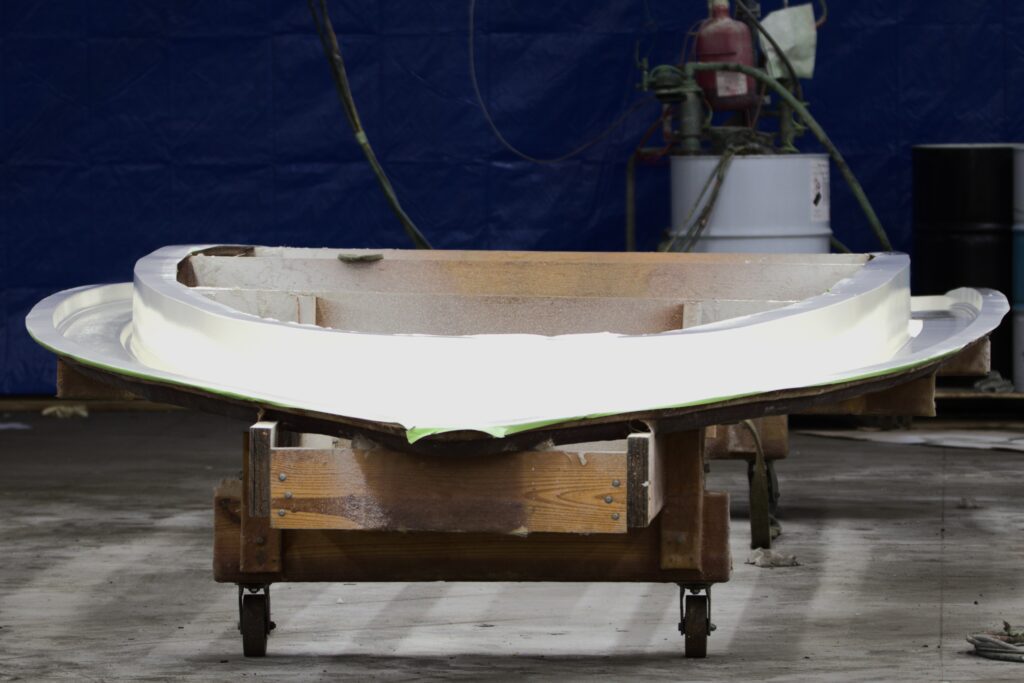
Due to the way boat building works, we build the cap upside-down. Once it is totally finished, it will be popped out of the mold, flipped right-side-up, and then fit to the hull. The process that we’ve covered so far for building the hull (Gelcoat then skin coat) is exactly the same for the cap.
After those first couple of steps happen is where things start to look a little different.
The cap mold after being sprayed with white gelcoat
Foam Core
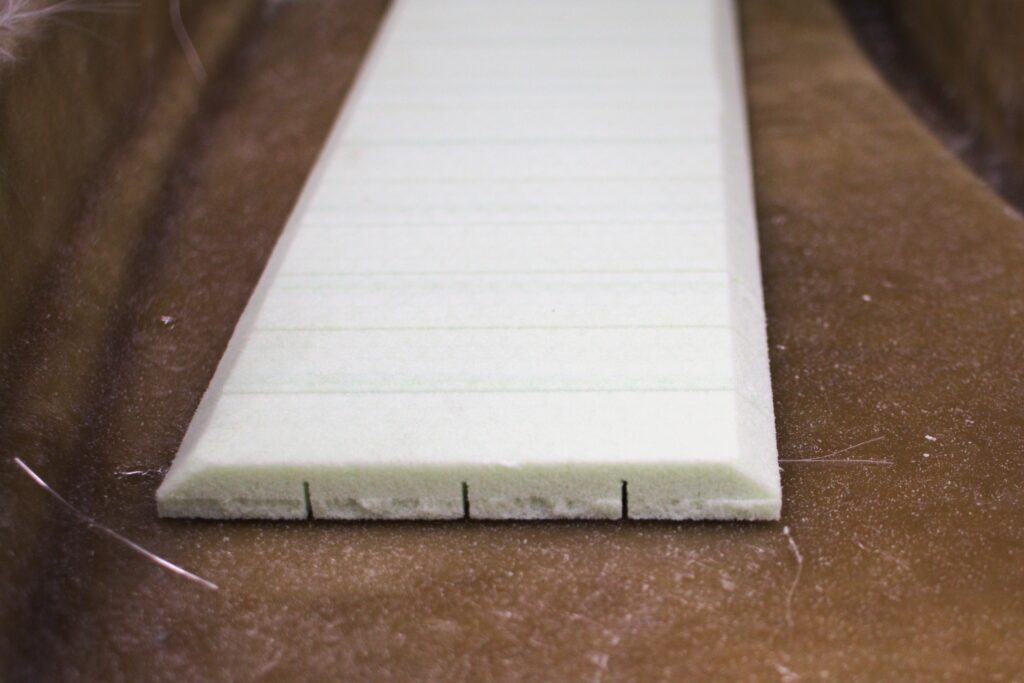
One of the big differences with the deck cap vs the hull comes with the embedding of foam core in the horizontal deck surfaces.
Foam core provides structural strength without the additional weight. Using foam core results in a piece that is structurally as strong as using four or more layers of fiberglass, but at a fraction of the weight.
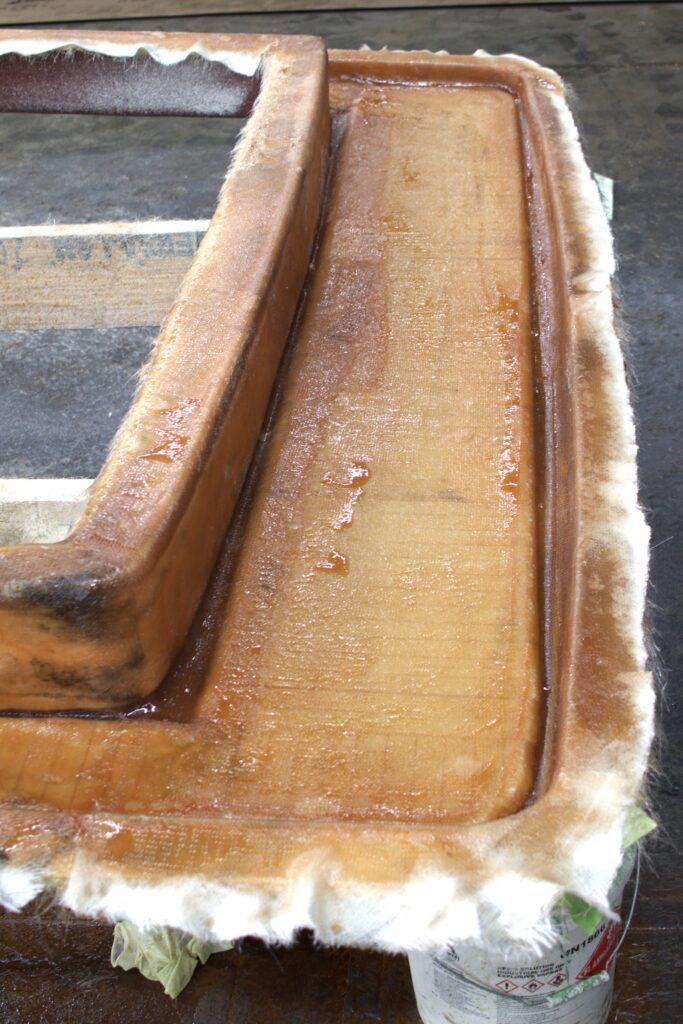
One consideration when using foam core is that it does not have very good screw retention properties, so in places where we need better screw retention, we will use pieces of Coosa board, which has great screw retention properties.
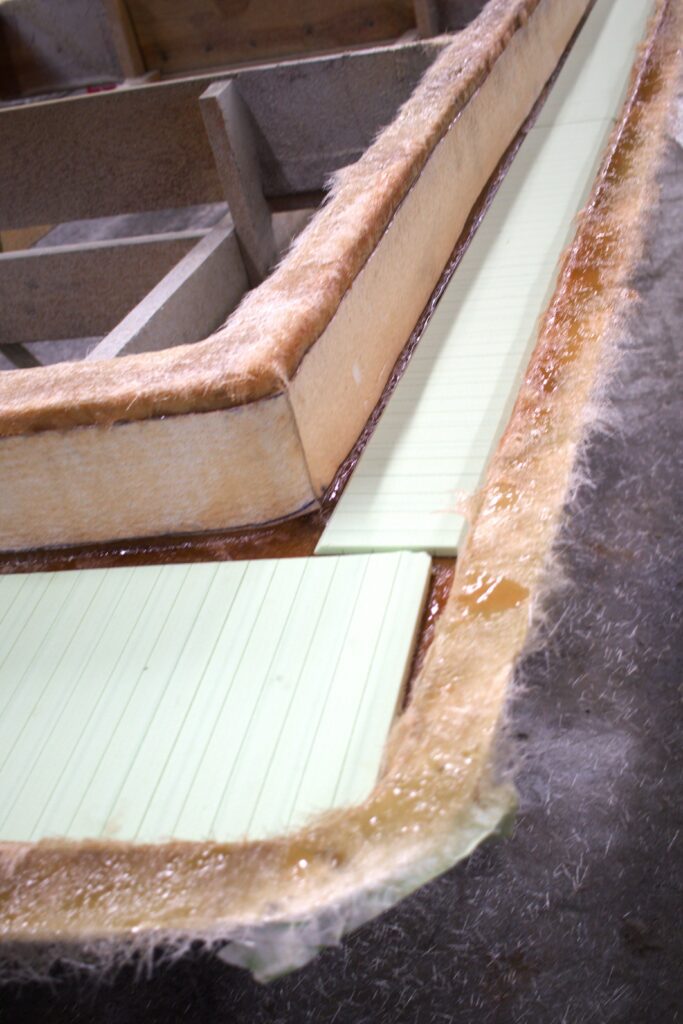
Fiberglass doesn't like to turn sharp corners, so all the edges of the foam core are beveled 45 degrees to ensure a good bond.
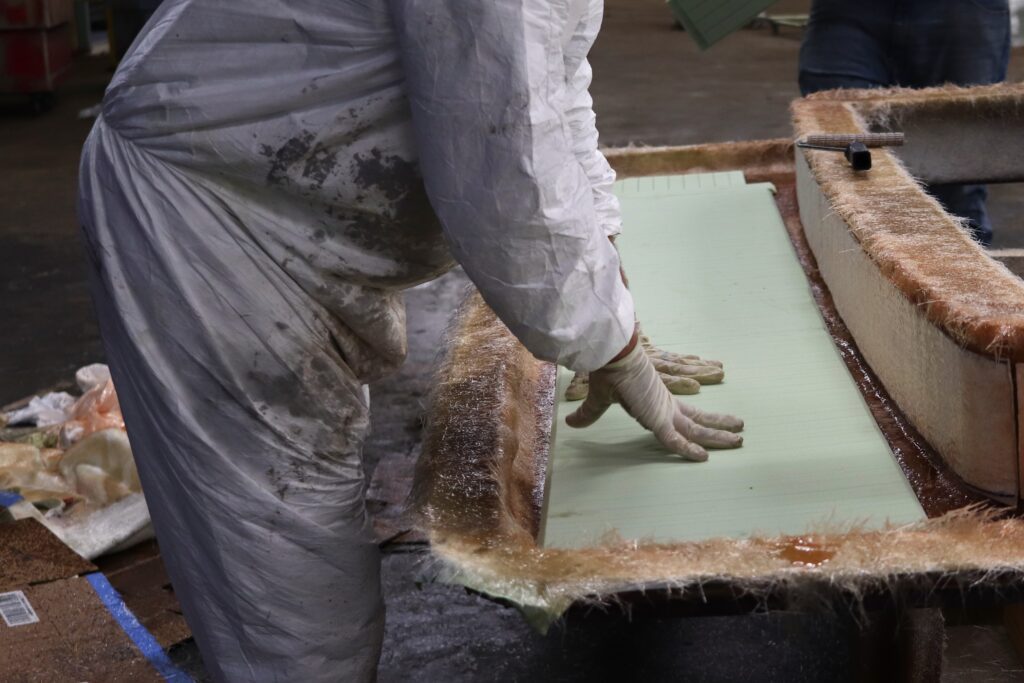
A piece of foam core is embedded in resin for the back deck.
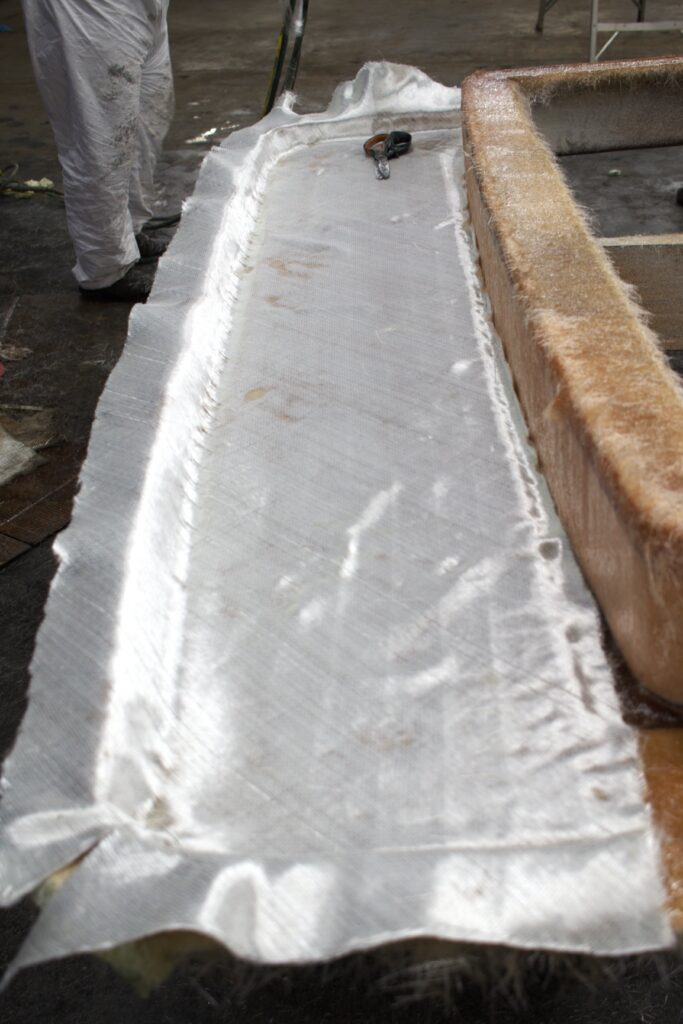
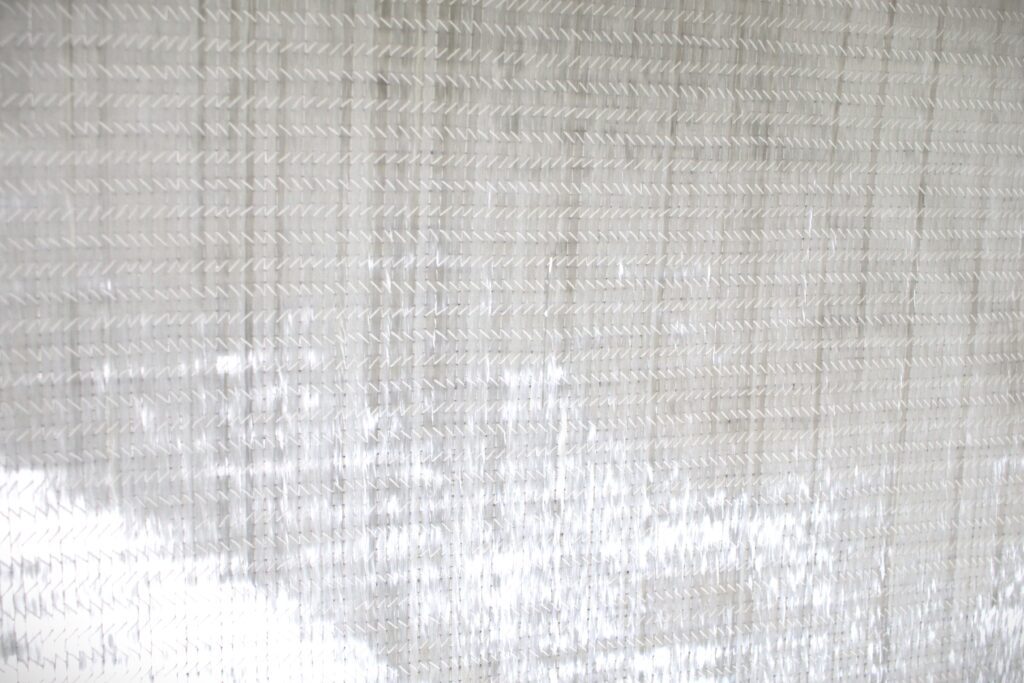
Fiberglass cloth is laid on top of the foam core waiting to be wetted out with resin on the back deck
Foam core is sandwiched between layers of fiberglass on the back deck
Where the foam core stops will be filled with Coosa to allow the necessary mounting strength to support cleats, chocks, and trolling motors.
The Coamings
The other part that makes up the deck cap is the coaming. This is the horizontal surface that faces the inside of the boat. If you picture yourself leaning out of the boat, this is the surface you would be leaning against.
Unlike the horizontal surfaces, the coaming does not need to support the weight of someone standing on it. It does, however, need to be strong and also able to hold screws.
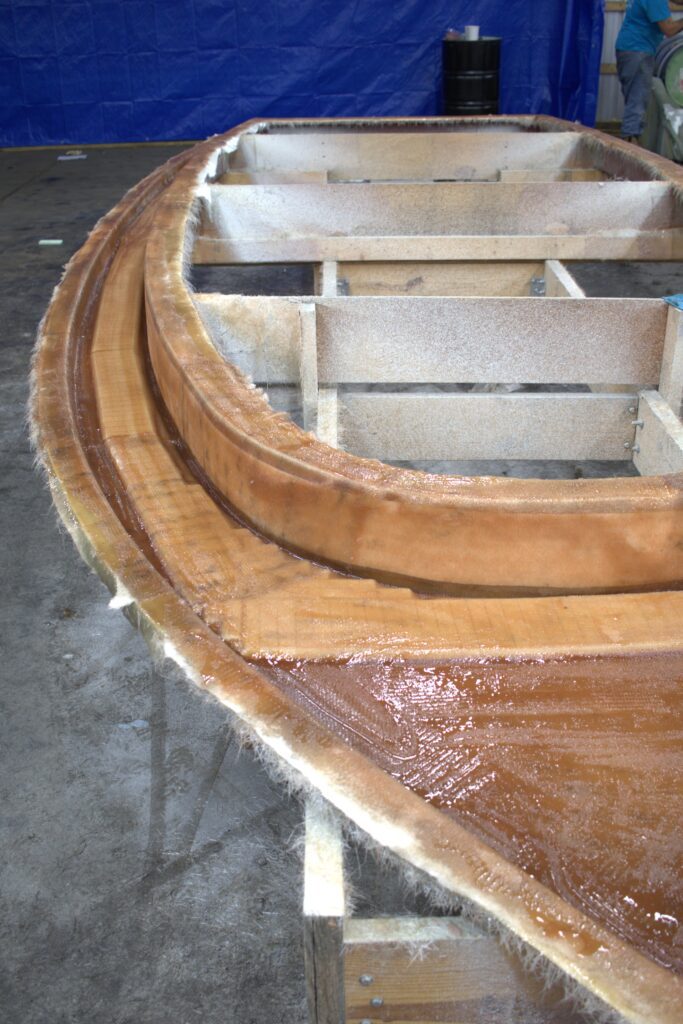
As mentioned earlier, one downside to foam core is that it does not have very good screw retention. So, for the coamings where we need good screw retention for coaming bolsters and trolling motor plugs, but you aren’t going to stand on them, we use a volumized polyester core material. It has good screw retention, molds to curves well, and adds thickness without weight. With the curved shape of the coaming, the stiffness of both Coosa and foam would prevent it from effectively turning the corners, whereas the polyester core material is light and flexible and great for molding around curved edges. Here you can see it get wetted down with resin before being sandwiched in layers of fiberglass cloth.
Next Time
Join us next time when we jump into the different types of fiberglass cloth we’ve used on this build. Be ready, ’cause it’s gonna be a hootin’ and hollerin’ good time.