In this post we cover the building of the deck for our Atlas Boatworks 23F center console bay boat. If you’ve missed the previous posts, we’ve covered all the steps that have gotten us here, from the hull to the stringers and more. Check out the previous posts here.
Building a Deck Mold
When we bought the hull mold for the 23F, we didn’t receive a mold for the deck. The previous builder had been hand-building each deck directly in the hull. While his work impressed us, it was insanely time-consuming and required his specific skill set.
We decided to build a rudimentary mold out of melamine, a particle board with a smooth plastic-like surface. Often used to build shelves and other furniture, melamine produces nice fiberglass parts with minimal post-finishing due to its smooth surface.
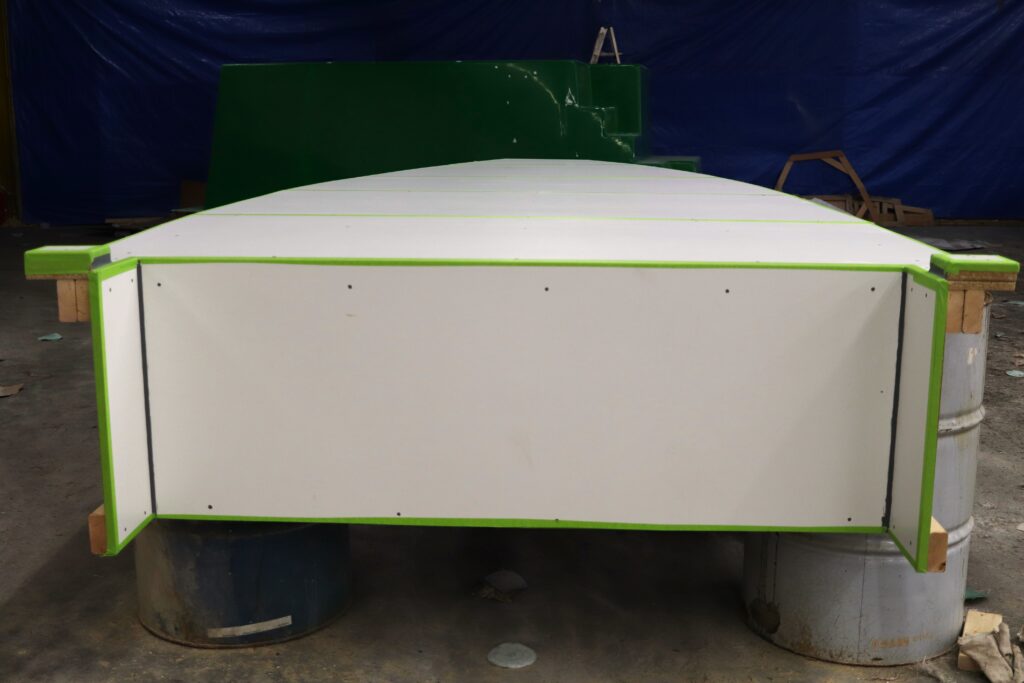
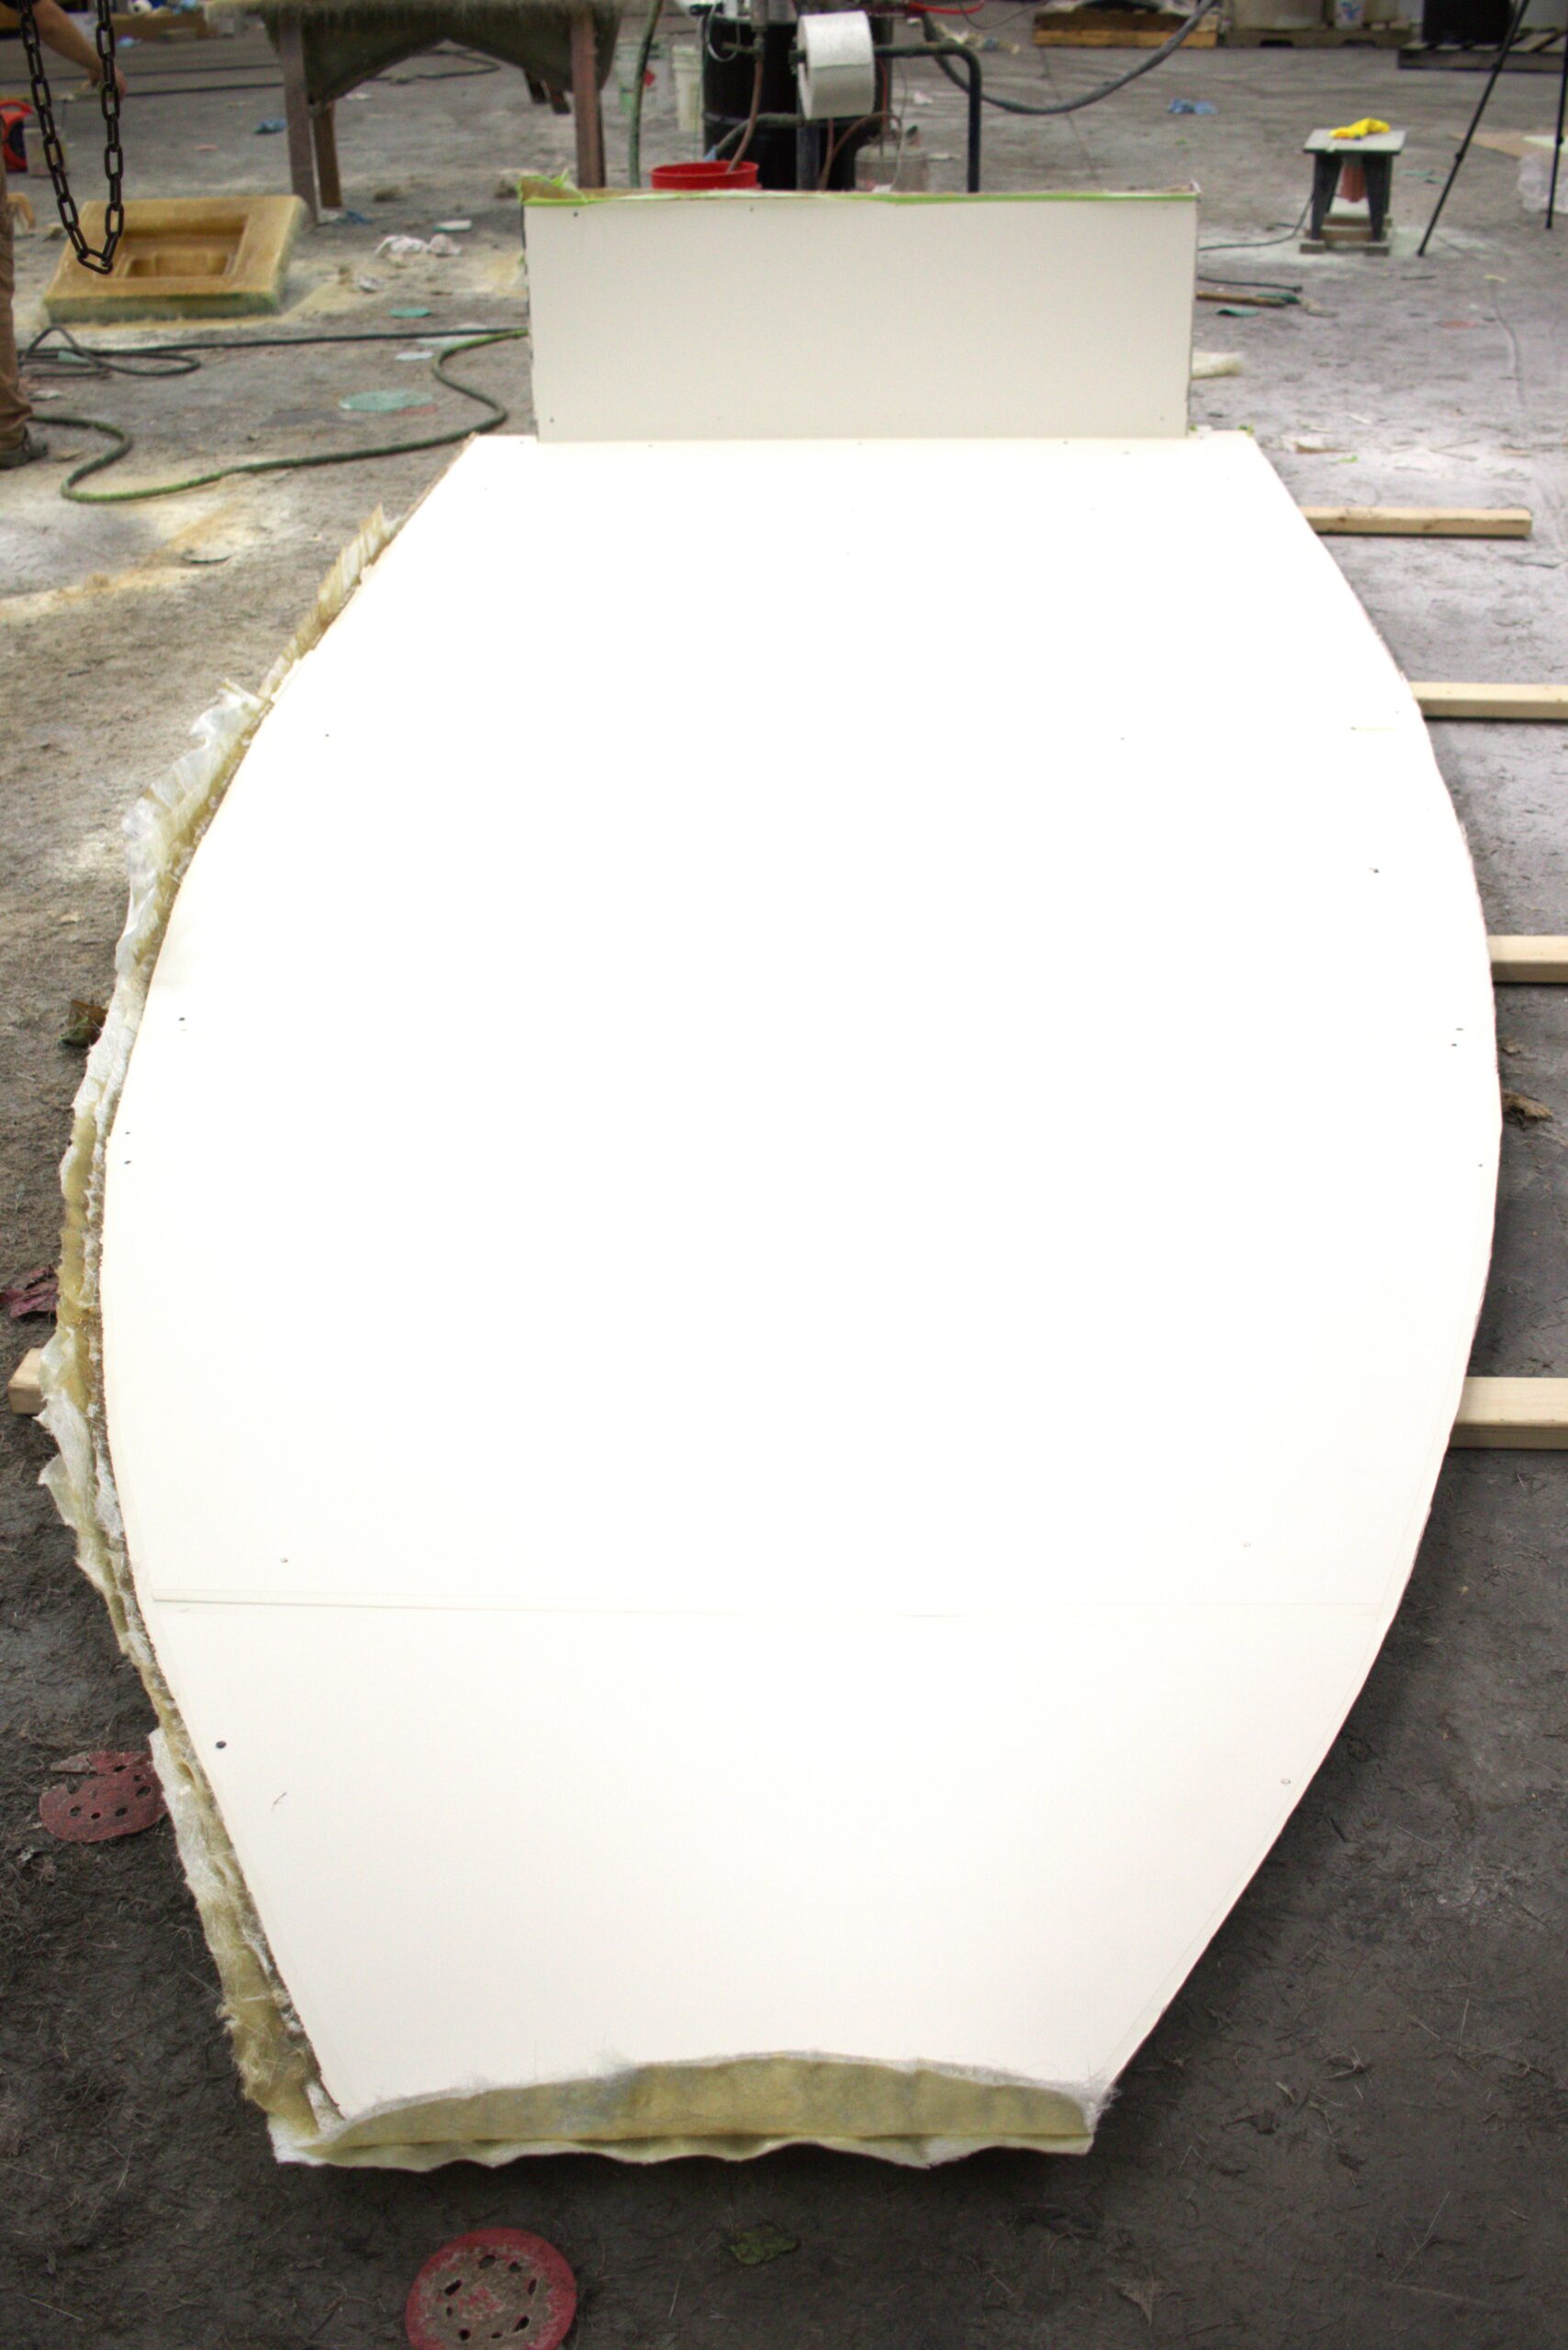
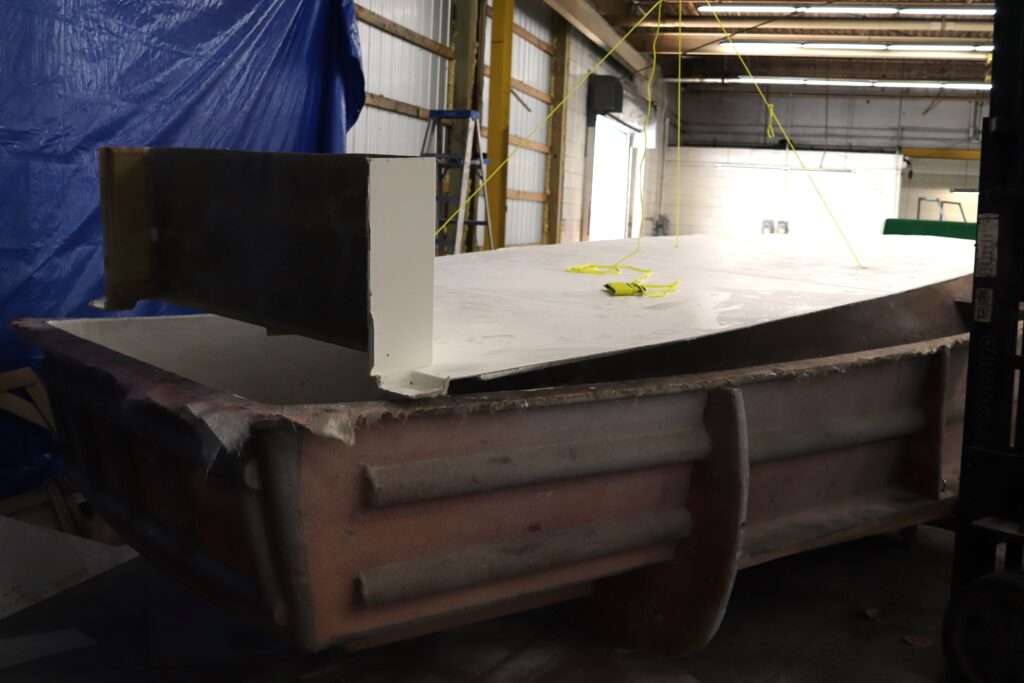
The stern view of the melamine deck mold
After building the mold out of sheets of melamine, we taped over all of the joints, routed all of the outside edges to increase the radius, and put clay in the inside corners to increase the radius (Remember fiberglass doesn’t like to turn sharp corners). Lastly, the whole thing got a good coat of wax to make sure the piece would pop off after it cured.
Design Considerations
We build the deck mold out of melamine because it allows quick changes to the mold. Before starting to build this boat, I called all the current owners and asked for their feedback on what they would change about the boat. Universally, everyone commented on the transom bulkhead and how it could be improved. The biggest complaint was that it wasn’t fully enclosed around the edges, allowing leaves and other debris to find their way behind it and into the bilge.
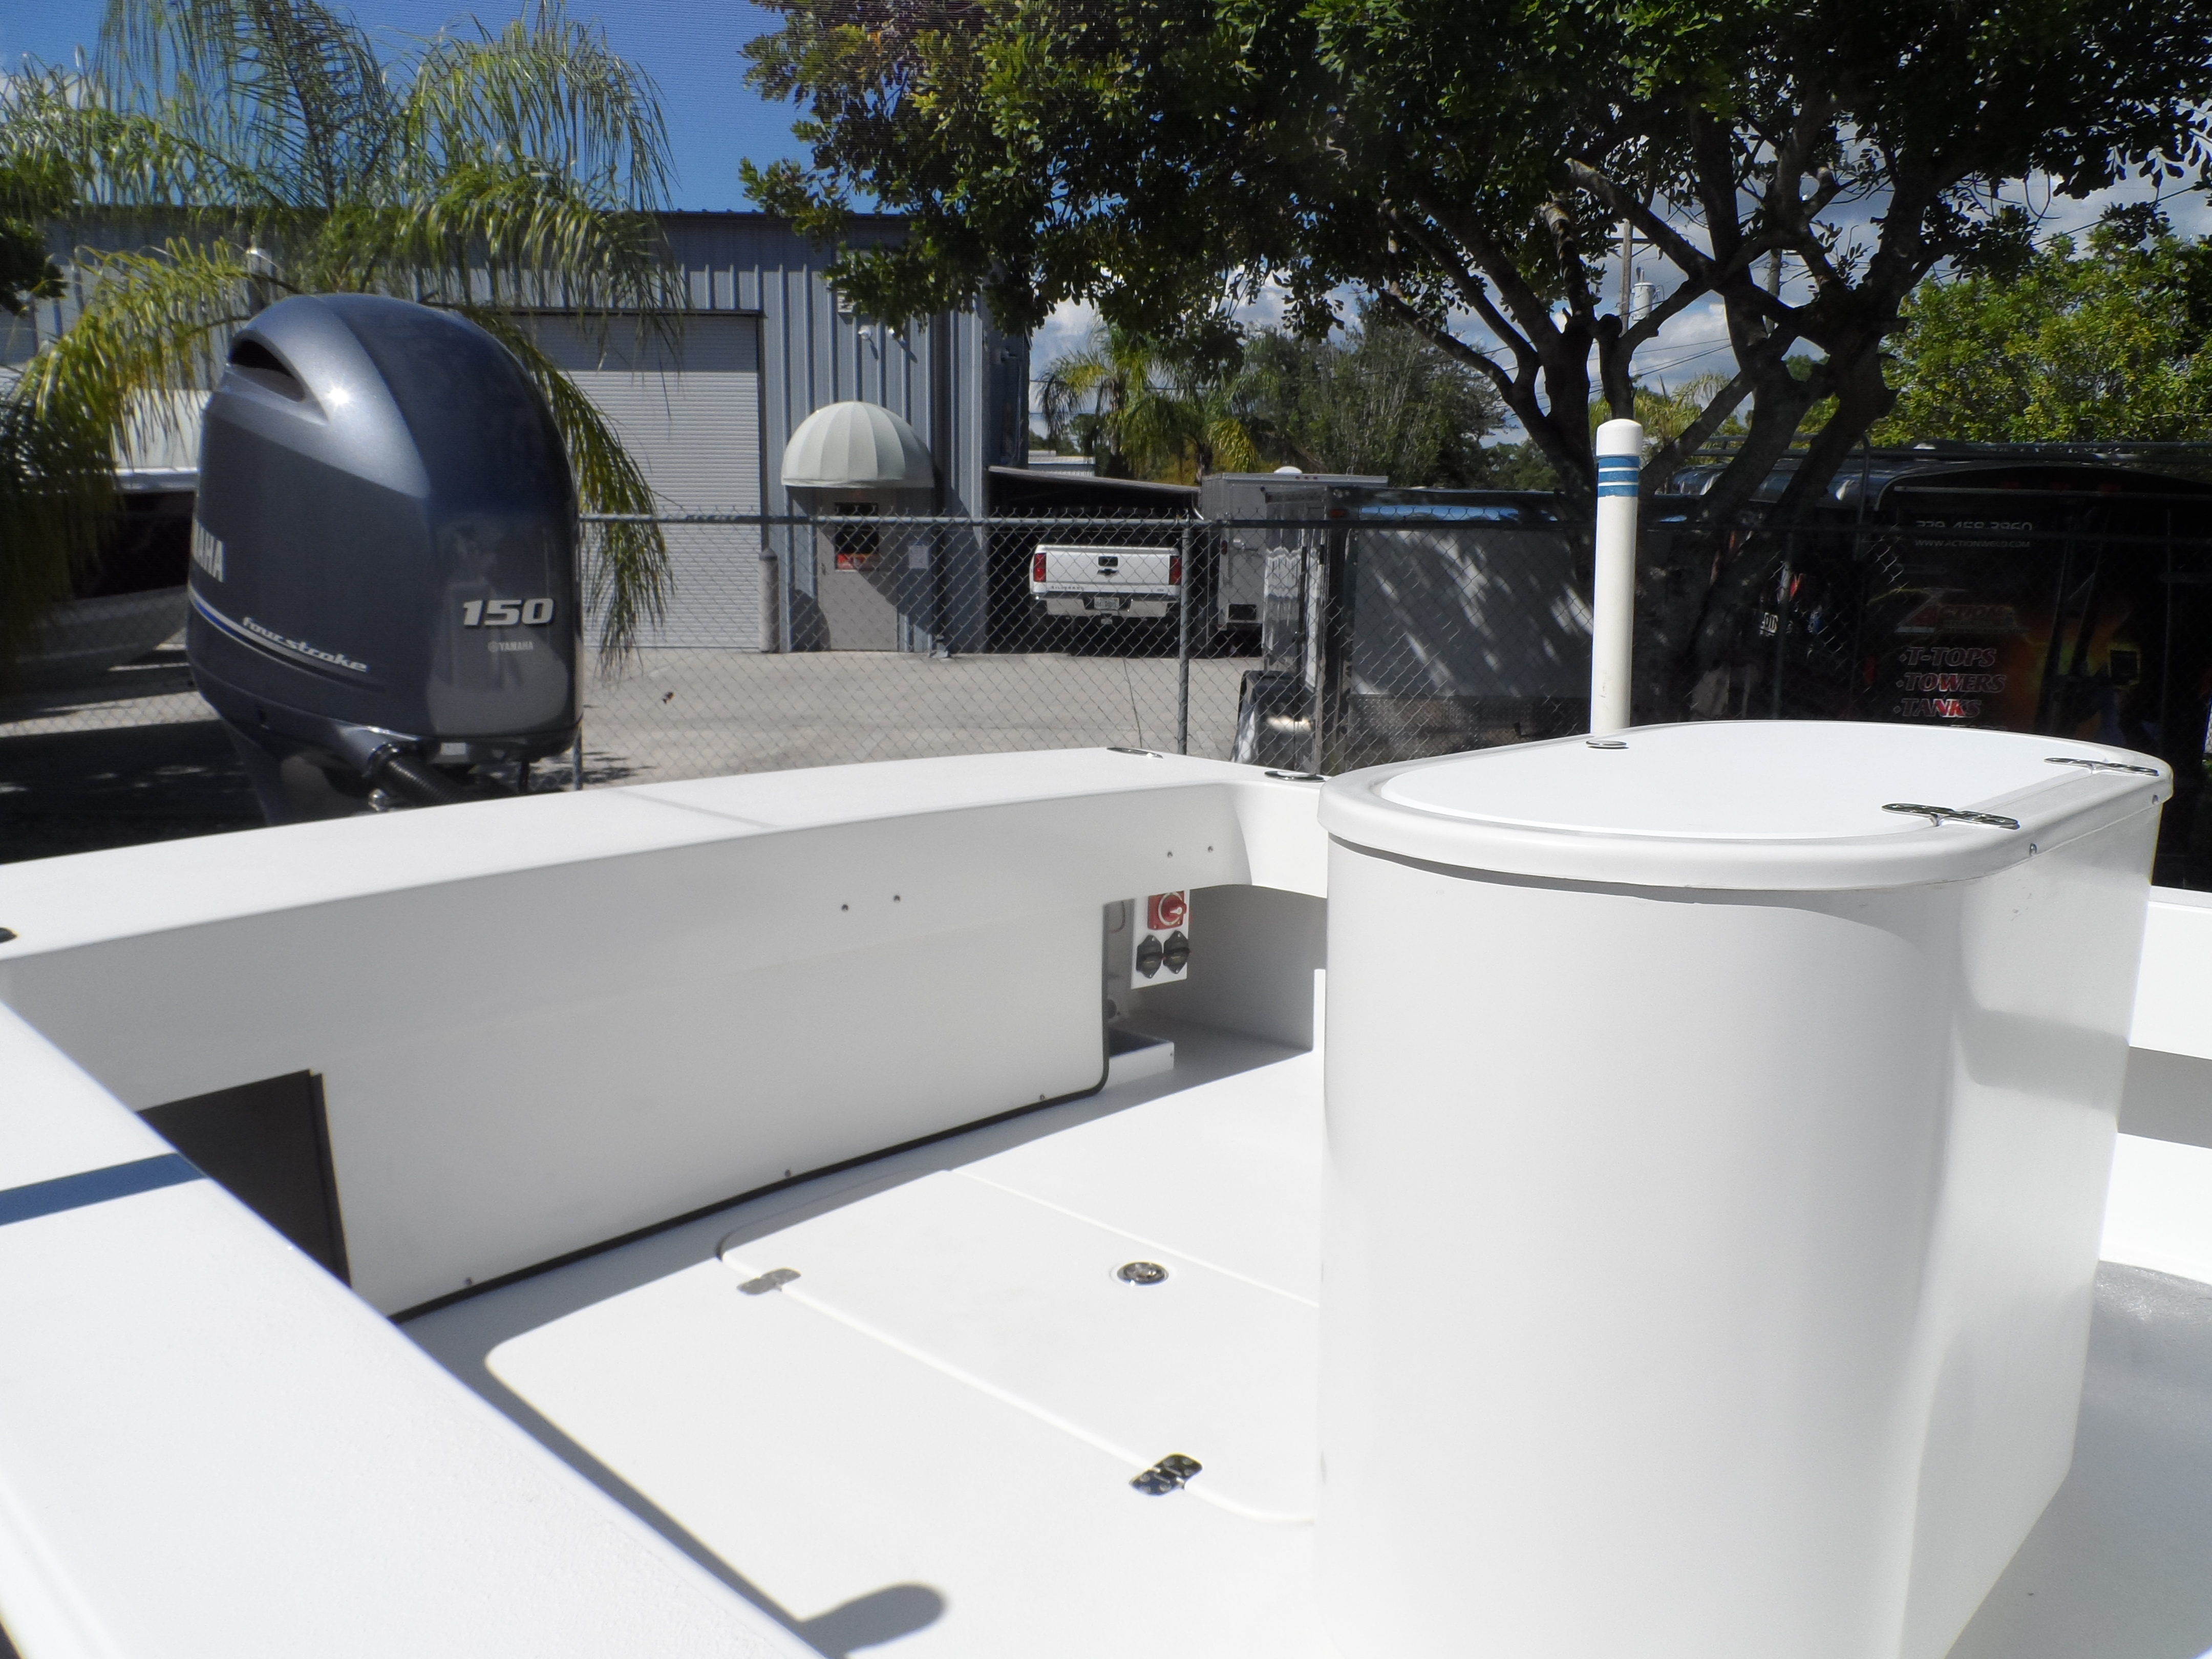
I changed the design but want to make sure the new design works as it should. If not, we can quickly make changes before creating a more permanent mold. The new design closes the transom openings, preventing debris from getting around them and into the bilge. To ensure access to the transom, we will install a hatch in the bulkhead.
Old style removable transom bulkhead
New transom bulkhead design with closed sides. A hatch will be installed to allow access to the transom
Building the Actual Deck
The building of the deck is very similar to many of the other parts we have already discussed. It probably most closely resembles the deck cap, which you can read about here. We start with a layer of gelcoat, then the skincoat of chopped mat, structural foam, then a layer of 2408 glass.
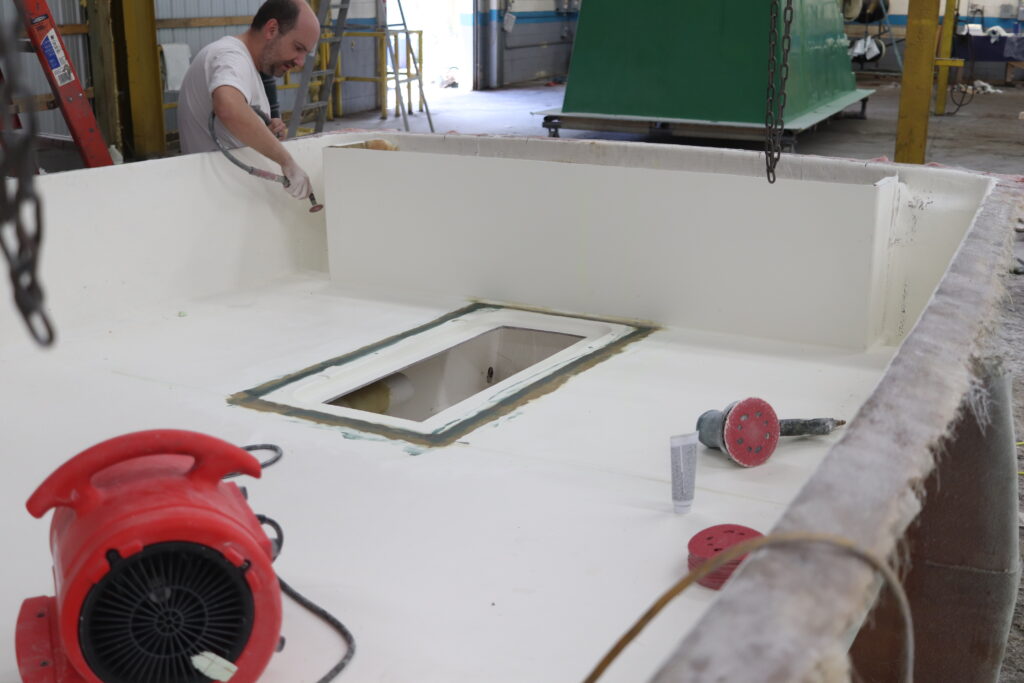
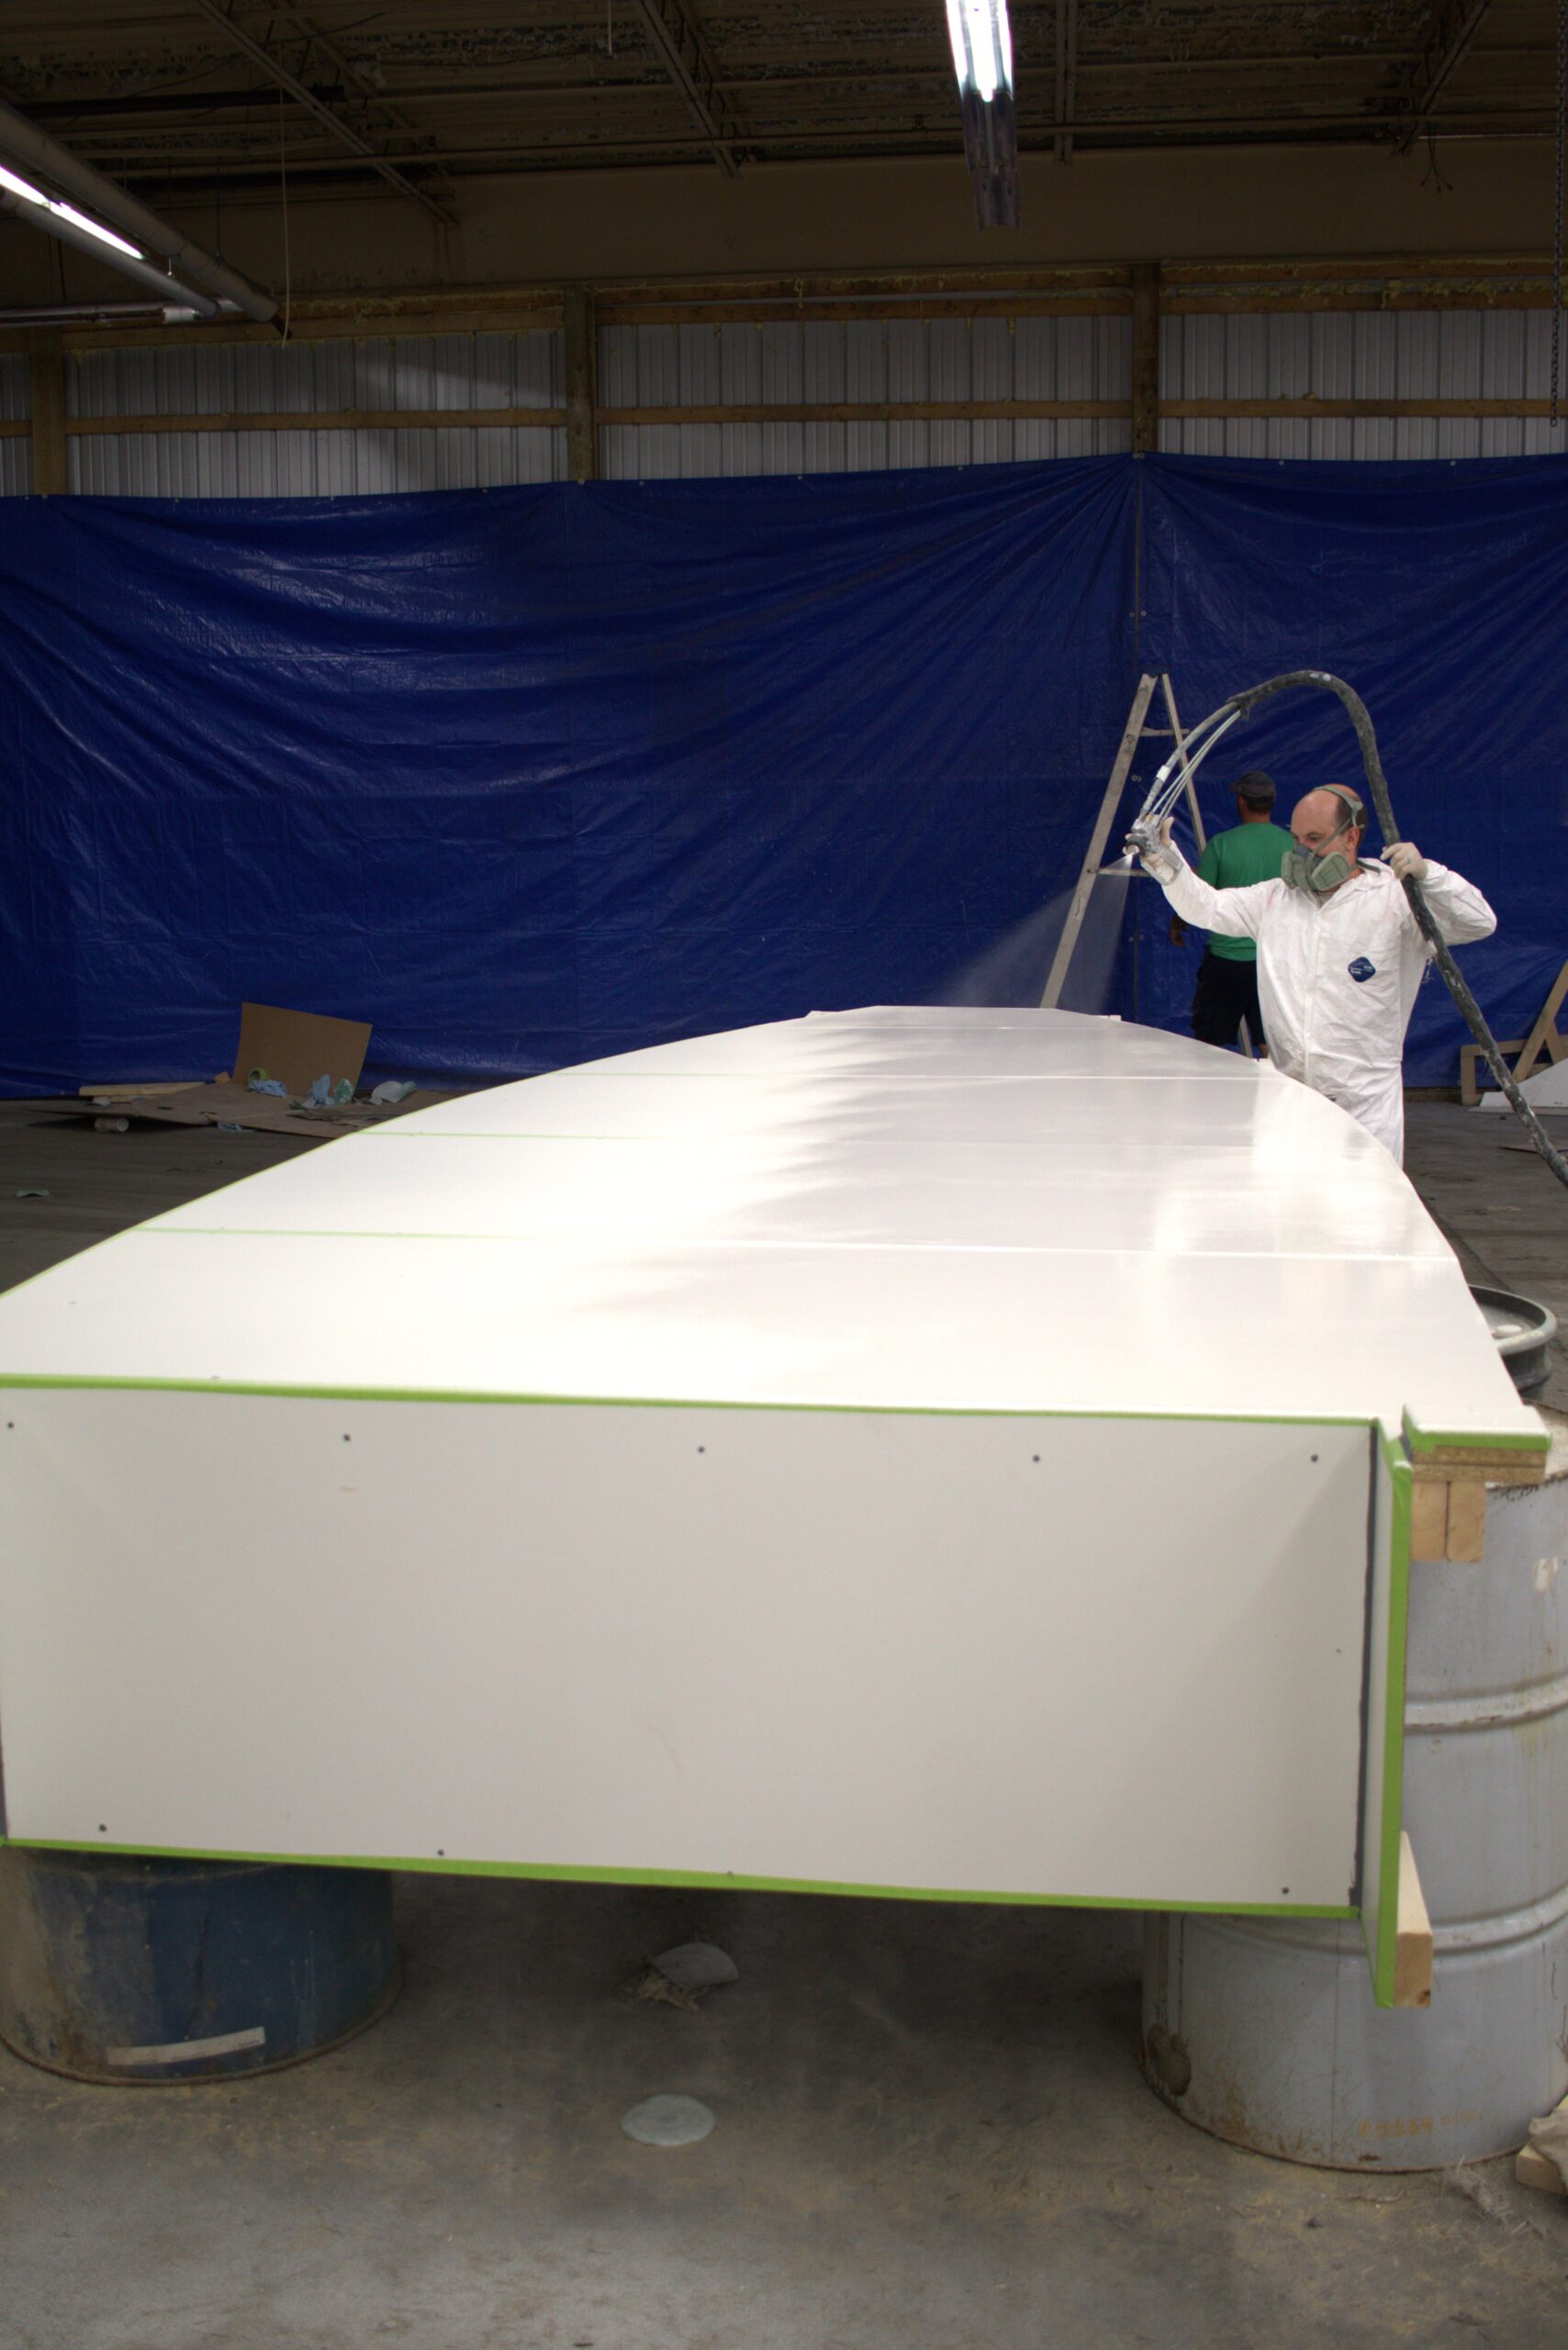
Gelcoat is sprayed on the deck mold
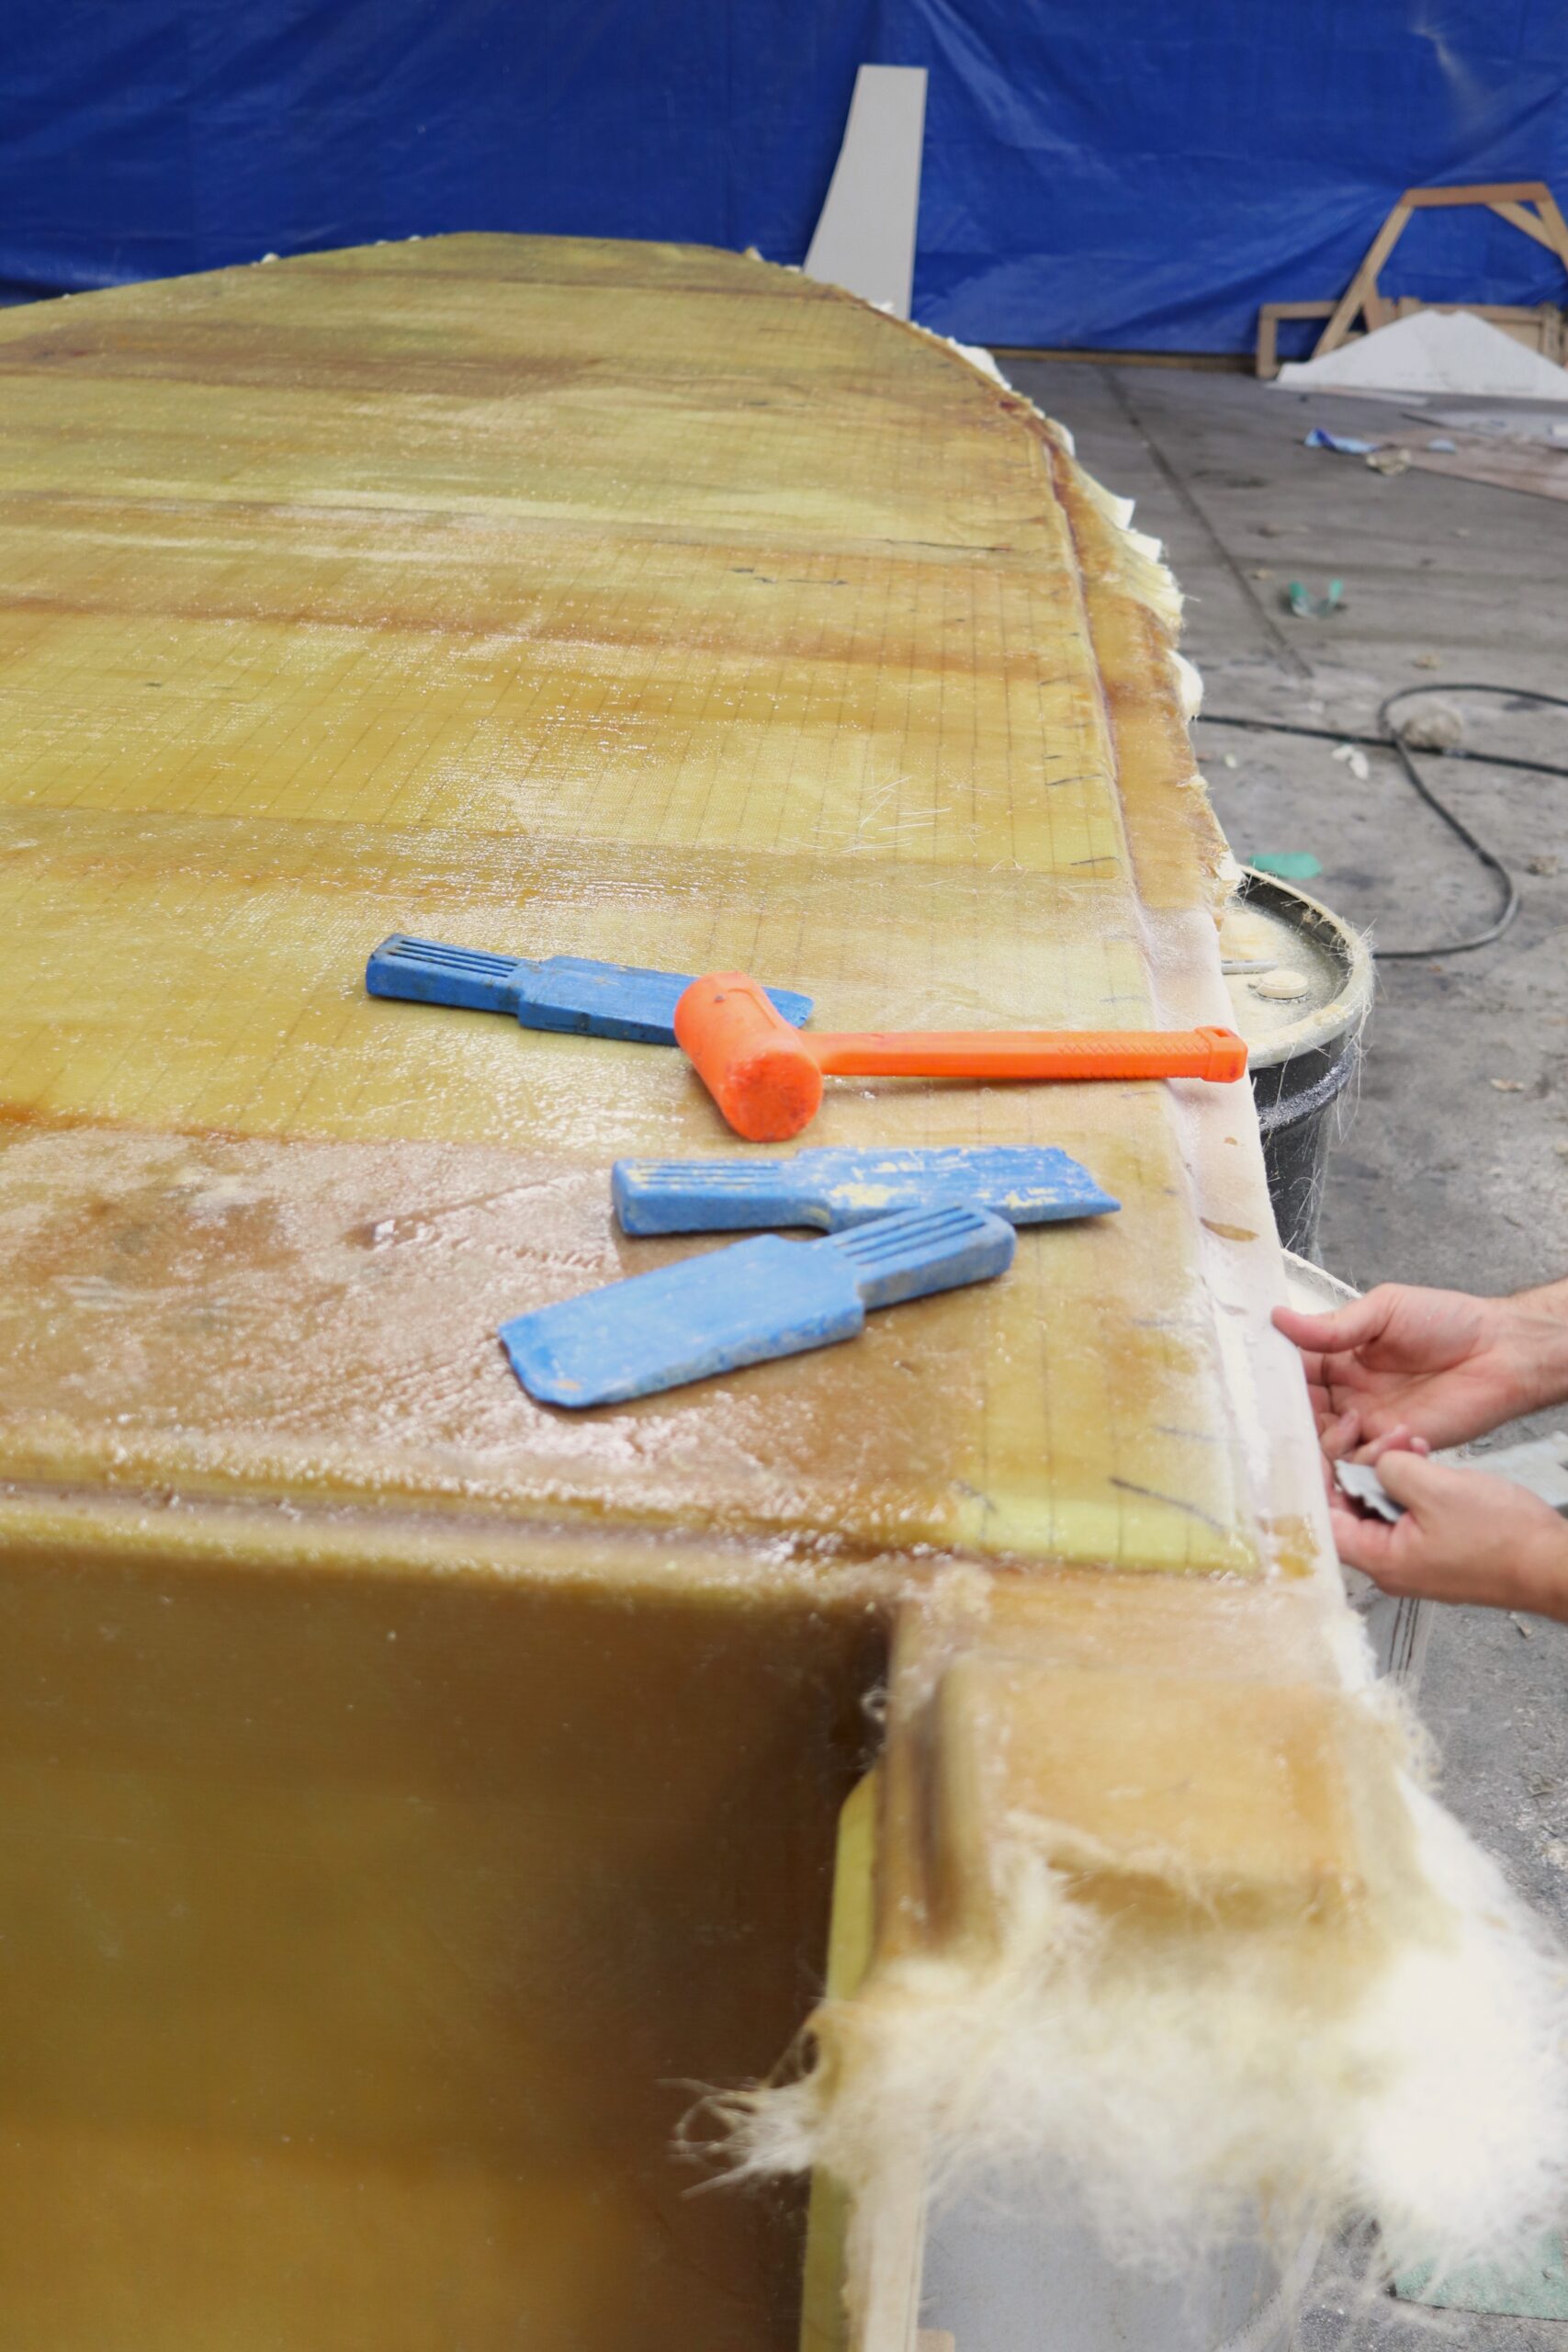
The deck is completed and ready to pop out of the mold and flip over
The deck is out of the mold and flipped right-side-up
End Product
In the end, the temporary mold worked great. We ended up with a solid product that had an easy-to-finish surface.
The goal in building the deck was to have a consistent thickness and the same amount of material above and below the foam. Looks pretty good to me.
Cross-section of the deck which was cut out of one of the hatch holes
Next Time
Next time we will be jumping into the installation of the deck and hatches. Be sure to join us, it’ll be riveting.