Next Steps
Thanks for joining us again for the building of our Atlas Boatworks 2024 demo boat. In our last post, we talked about choosing the hull color (We went with white; see why here) and then spraying that color gelcoat into the mold. If you missed that post, go check it out. In this post, we are going to talk about the next step in building the hull, the skin coat.
The Skin Coat
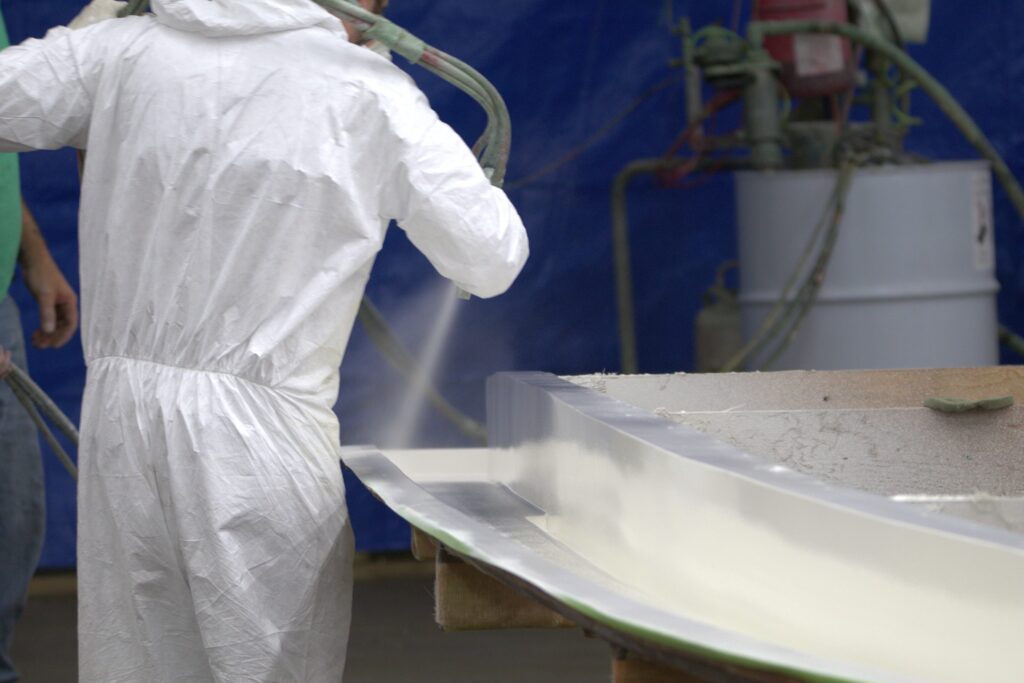
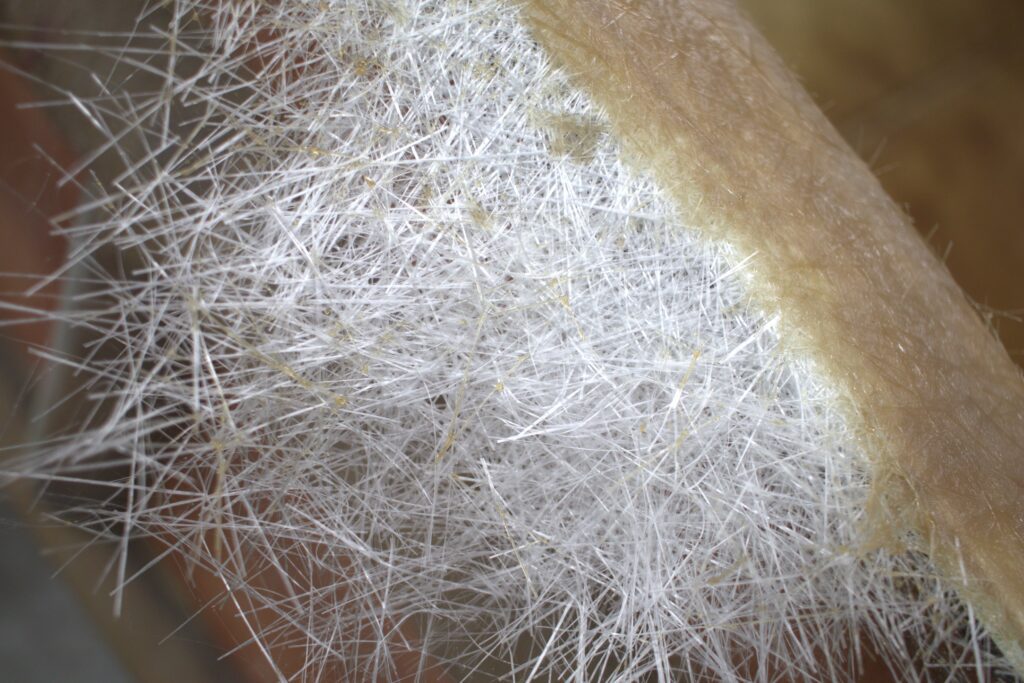
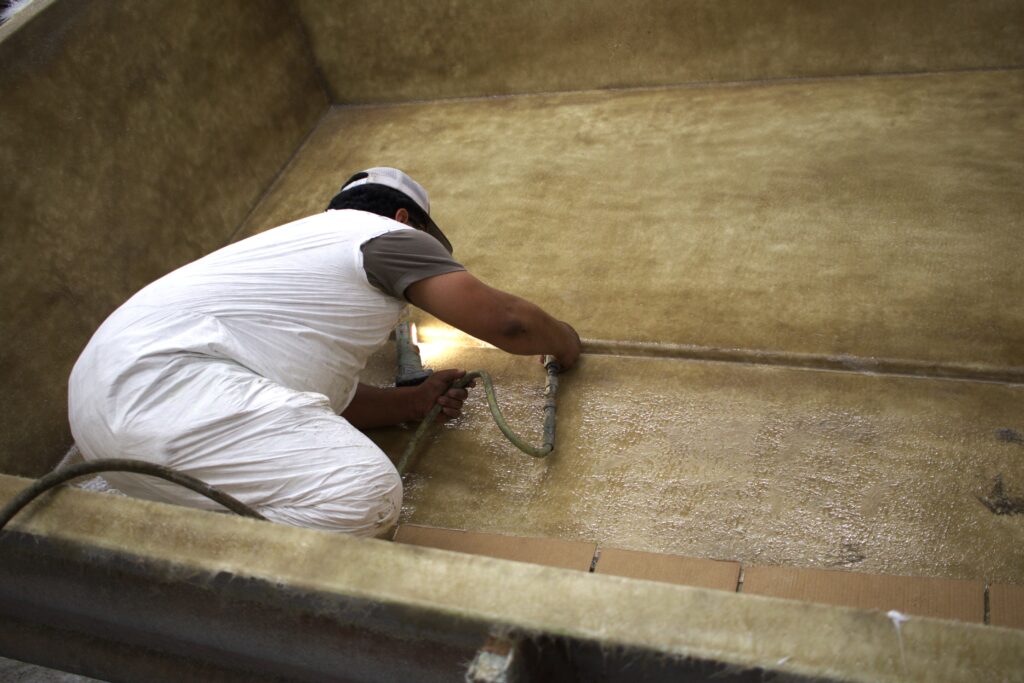
The skin coat is the layer of fiberglass that goes on top of the gelcoat. This layer consists of chopped fiberglass (vs woven, which will come later). The random orientation of the fibers is important as it allows air bubbles to push through to prevent voids between the gelcoat and the fiberglass structure. If you end up with air bubbles in between those two layers you may end up with the gelcoat cracking or popping off and opening up in those places. It also prevents the woven pattern of the later layers from showing through in the gelcoat.
Chopper Gun: A Dirty Word?
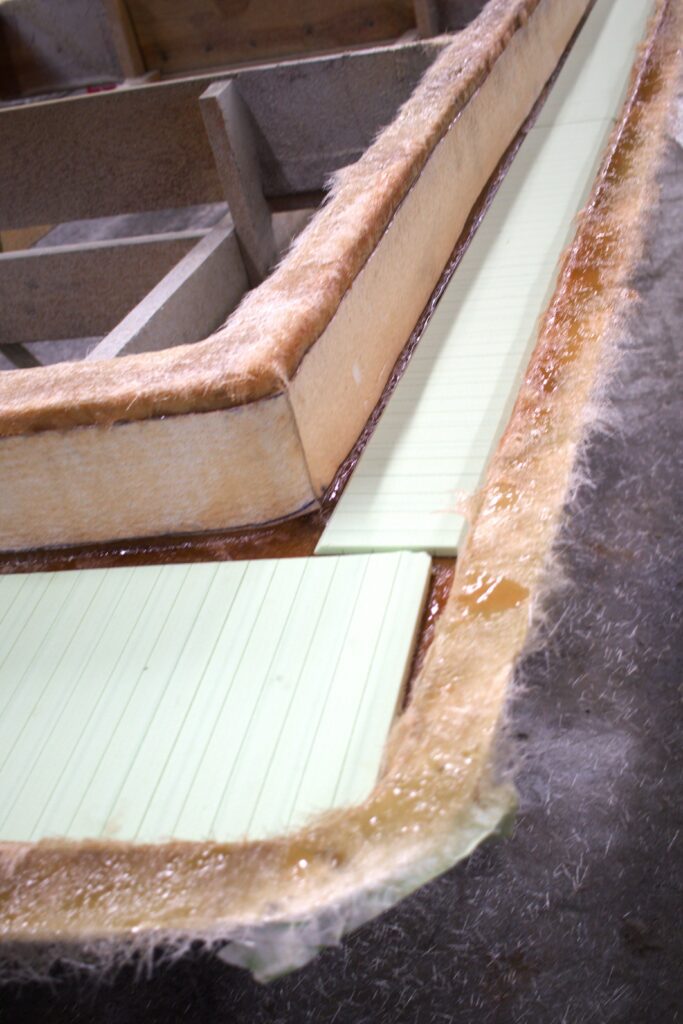
There are two ways to get the chopped strand fiberglass into the hull: lay mats or spray it. You will see some boats advertised as “No chopper guns” as if it is a negative thing. A chopper gun is a contraption that pulls long strands of fiberglass, cuts it, mixes it with resin, and sprays it wherever you point it. It is a very efficient way to get the skin coat laid in the mold. The potential downside to using one is that it is an inexact science of how much you spray in any one location. It is possible to have too much or too little. However, with an experienced team running the gun and good quality control, you end up with a great product that is identical to using mats. The other thing chopper guns are good for is temporarily holding resin in place. When we are embedding foam or other structural items in the hull, we will use a thin layer from the chopper gun to hold the resin in place as we set the foam. We’ll go deeper into that in later posts.
Quality Control
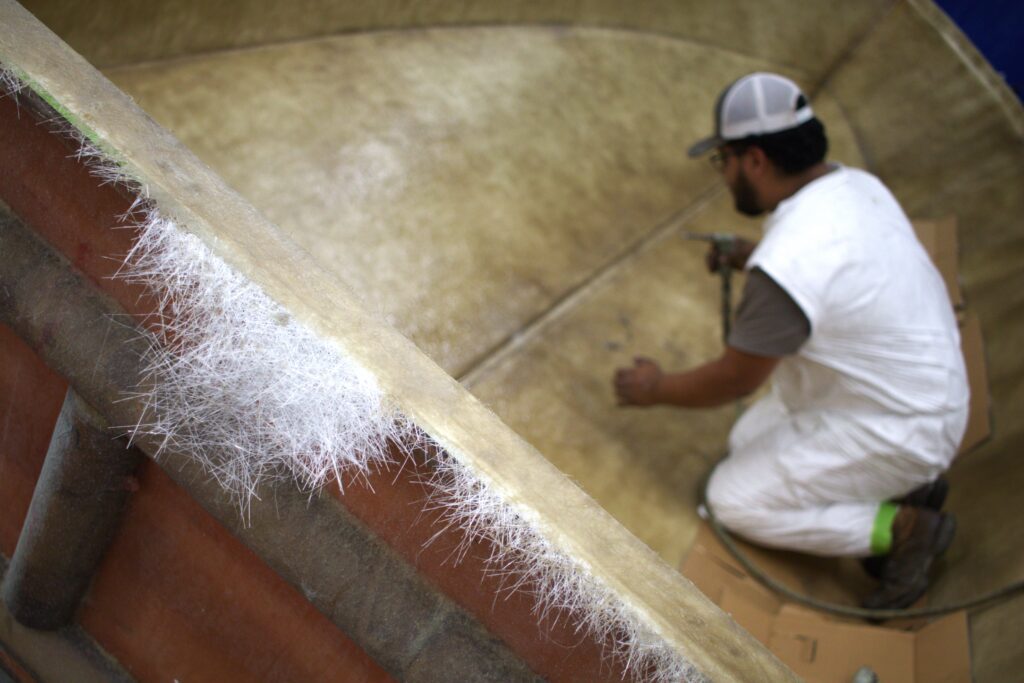
The whole point of the skin coat is to ensure that the gelcoat has adequate support and to prevent the weave pattern of the next layers from “Printing” through to the gelcoat. The biggest thing that could go wrong in this step is having air bubbles between the gelcoat and skin coat. Once the skin coat has cured, a thorough check is done to ensure that there are no bubbles. If there are, they are ground down and opened up so that they can be filled in during the next step.
Next Time
For our next post, we will dive into the deck cap. I know, you can hardly wait. Stick with us as we continue, step-by-step, through the building of our 2024 Atlas Boatworks Demo Boat.
