In this post, we will cover the process of removing the hull of the Atlas Boatworks 23F bay boat from the mold. You can think of the mold in the same way you would a bread pan or muffin tin. The ingredients go on the inside and then when they’re all done, you pull out the finished product. If you haven’t been following along, you can find all of the posts leading up to here on our blog.
How did we get here?
There have been a whole lot of steps that have led up to this hull reveal. I’ll walk through them below with a link to a blog post about each of them.
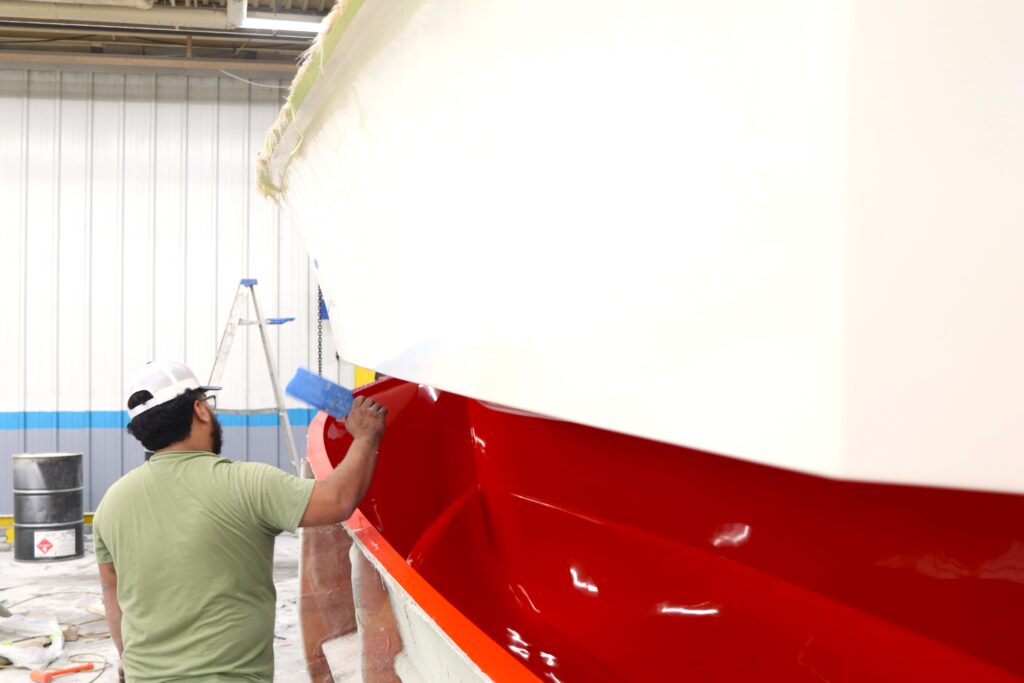
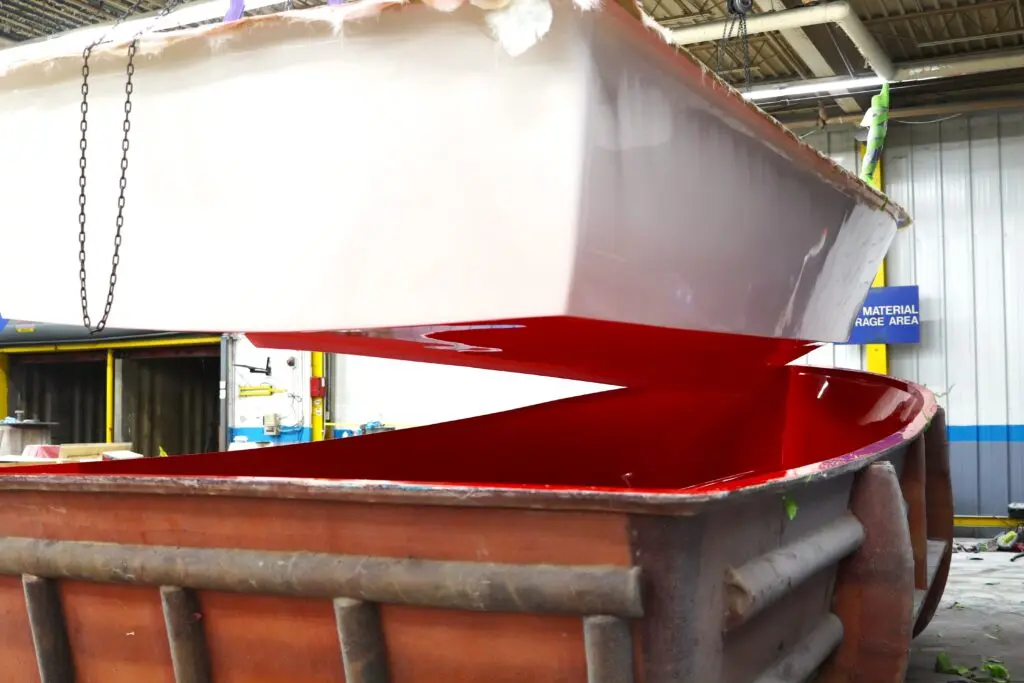
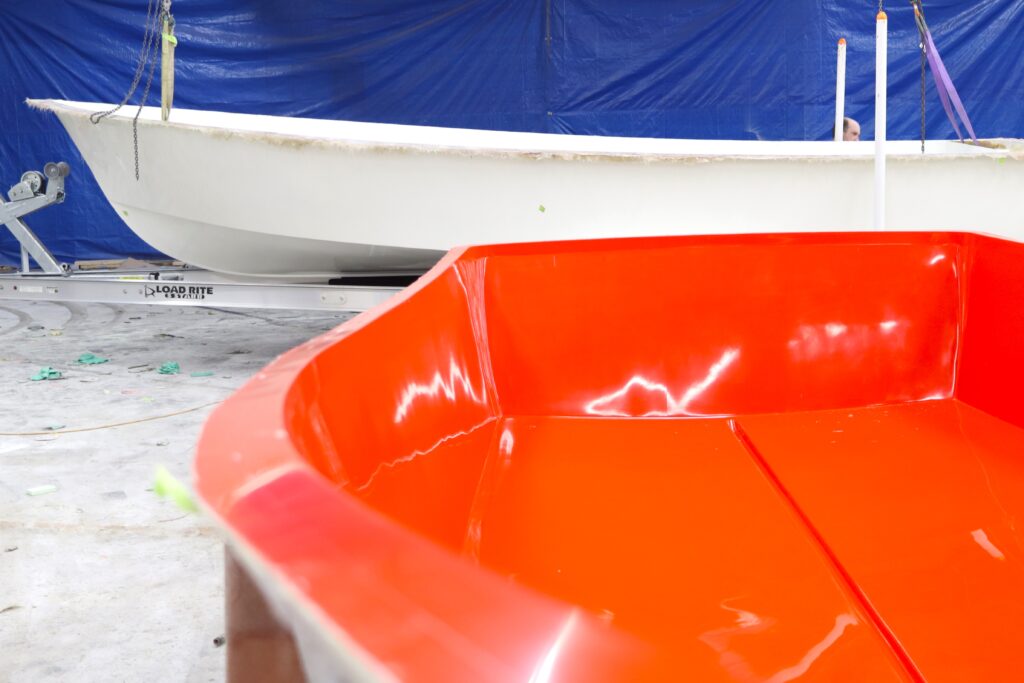
Step 11 – Pull the hull out of the mold – That’s this step!
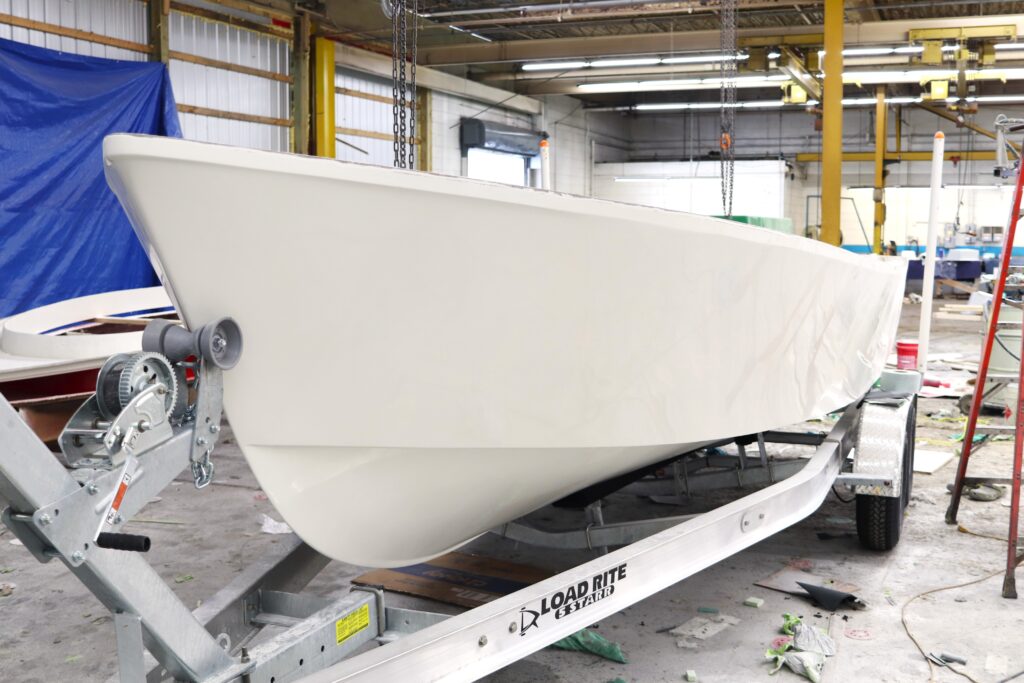
Once we had everything all bonded and in place, we were ready to pull the hull out of the mold. Despite all the work that went into the mold, it was actually very easy to get back out.
What's next?
Now that the hull is out of the mold it will get trimmed of excess fiberglass and then the deck cap will be fit on top. They will be bonded and screwed together and the boat will begin being rigged.